Synesthesia: Starfield rendering

See the previous post for more about how the skyboxes work in Synesthesia. One of the issues with the pre-rendered skyboxes is that the image of the stars in the background cannot properly rotate with the movement of sun.

The stars rotate over the sky as time progresses due to the rotation of Earth. However, since the stars must be behind the clouds and the current implementation of the pre-rendering cannot capture a mask of where the clouds are, it’s just embedded in the sky texture.

On the video above, pay attention to the top middle of the frame. There are two prominent stars there which appear to teleport around in a strange way - a consequence of them being embedded in the sky texture as it blends.

Compare this to the way true dynamic sky behaves, shown on the video below. The star map correctly rotates with the movement of Earth.

With some modification of the skybox renderer, it should be up to the task of rendering raw opacity of the cloud. This would allow separating the star map away from sky texture, making it scroll smoothly. It would also significantly improve the way the sun and the moon interact with the clouds.


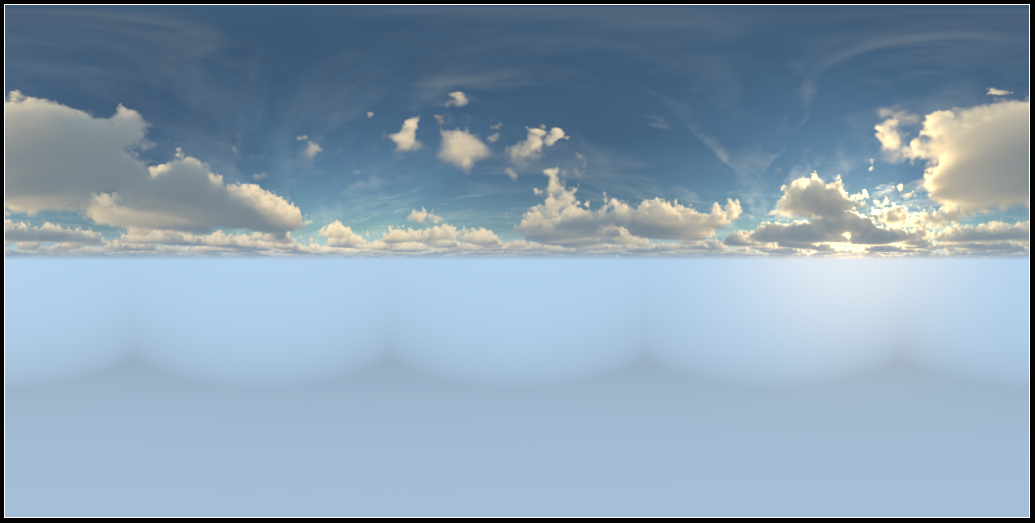
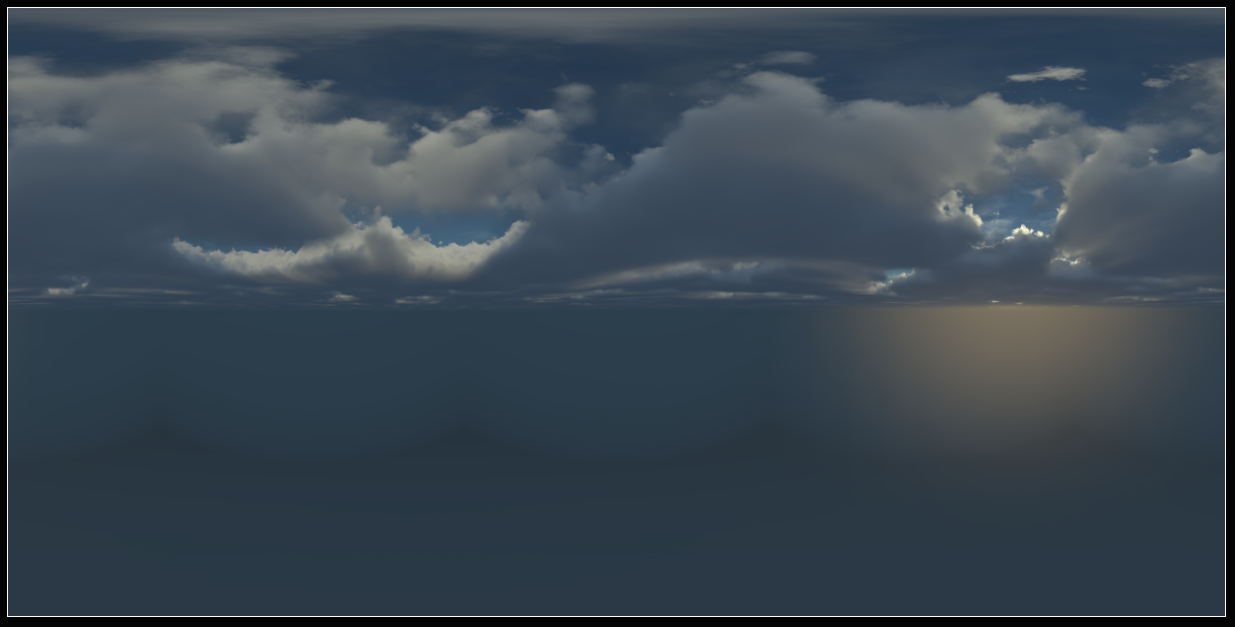
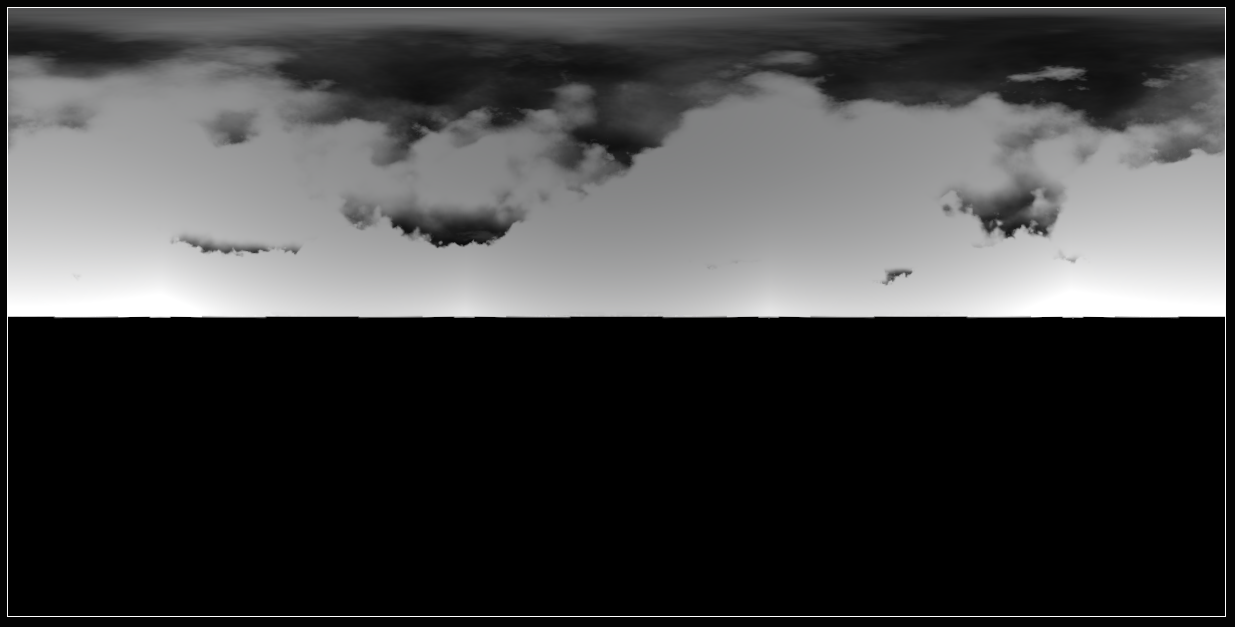
While writing this post, I experimented a little with some simple modifications and got a result that I think will be practically useful. Here’s an example of a pre-rendered sky and a pre-rendered cloud mask. This cloud mask would allow distinguishing objects in front and behind the clouds accurately.

Hover over the mask below to see the corresponding pre-rendered skybox texture:

Synesthesia: Pre-rendered 2D skybox

In Synesthesia, the sky is displayed by taking a skybox cubemap texture and applying it to the sky sphere surrounding the game world. This texture is pre-rendered and stored on disk, allowing the sky to be displayed at a very small performance cost.

I have now improved the skybox system to support a full day/night cycle, including the smooth movement of the sun and the moon. Because each skybox texture must be a static picture the sun and the moon are superimposed on top of the clouds, allowing them to move smoothly.

The skybox textures are pre-rendered inside the engine using a custom baking tool from a custom volumetric sky shader that uses the Unreal Engine volumetrics to render the clouds. Many skies are pre-rendered to allow the skybox to smoothly blend between different times of day and weathers.

For example, with the default 30 minute time interval, this means that 48 textures will be created for a single weather for the full span of a 24-hour day.

The sky system loads only the sky textures that are currently relevant and then blends between the two textures for the specified time of day, or blends between multiple textures in case the weather is changing.

Since the 2D skybox pre-rendering process cannot properly capture a mask for cloud opacity/transparency right now, to avoid the sun and the moon always appearing to be on top of the clouds their brightness is adjusted based on a pre-calculated curve.

In order to mask the sun when it goes behind the clouds, the bake tool captures two versions of the scene - one with light sources enabled, another one with light sources disabled. It will then compare the brightness of the pixel where sun is located.

If the two brightness values are nearly equal, the sun is blocked by the clouds. If the two brightness values are different, then the sun is not concealed.


This works good enough for both sun and moon. The version of the scene with light sources disabled is the one that gets saved to disk and later used with the 2D skybox.

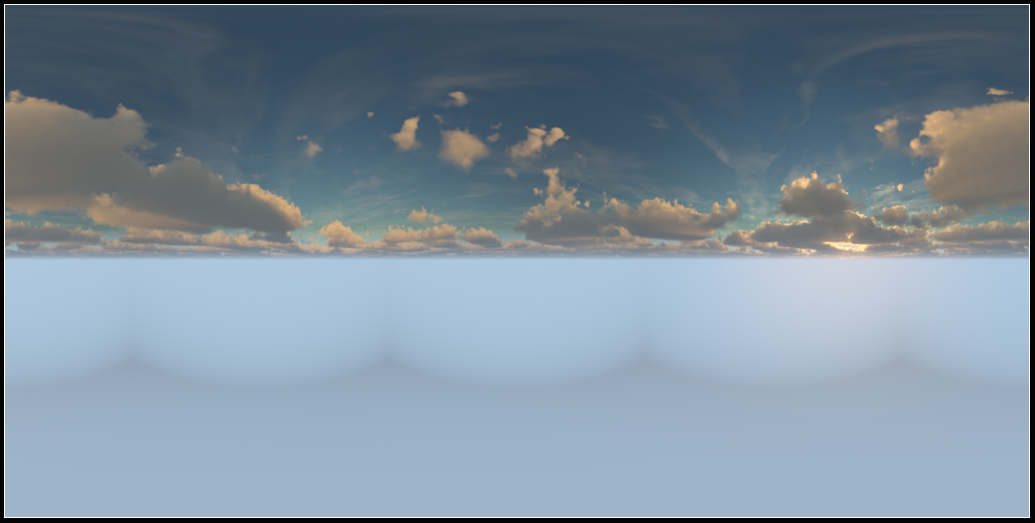
Here is an example set of the pre-rendered skybox textures for a specific weather. The sun and moon are omitted and will be later superimposed on top of this texture when it is rendered in-game:
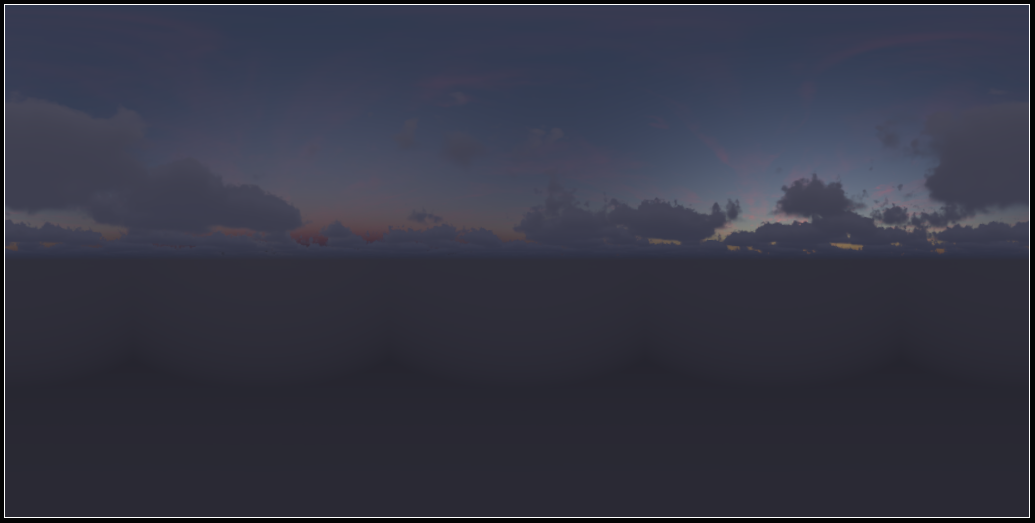
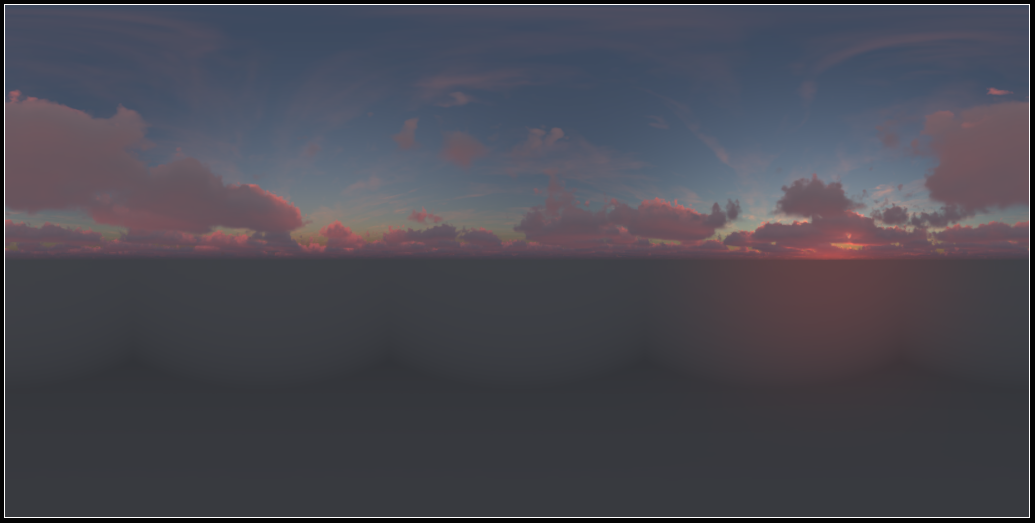
This method for skyboxes is highly performant and gives me a lot of artistic control. It does have some flaws, one of which I will demonstrate in the next post.

Some of the limitations of these pre-rendered skies:

  • The clouds within the same weather never move and are fully static. I could potentially fix this by allowing clouds to evolve during the capture process, however the clouds would have to somehow create a looping animation to avoid a discrepancy in cloud positions.
  • The star map blends in discrete steps, rather than smoothly rotating. I will update the star map with a generic texture so this effect wouldn’t be noticeable. However, see the next post for more about this.
  • The sun/moon do not interact with clouds in a satisfying way. They simply get darker or brighter, plus the curve doesn’t perfectly interpolate. But this isn’t very noticeable
  • Weather transitions are simplistic and there are no nice intermediate states. Also a limitation, the only way to transition between two weathers is to directly blend between them.

My intent is to solve most of the visual issues by providing a large pool of different skyboxes. Since they can be very easily generated and created, there can be enough interesting skies to look at so the other problems don’t matter as much.
Synesthesia: General description

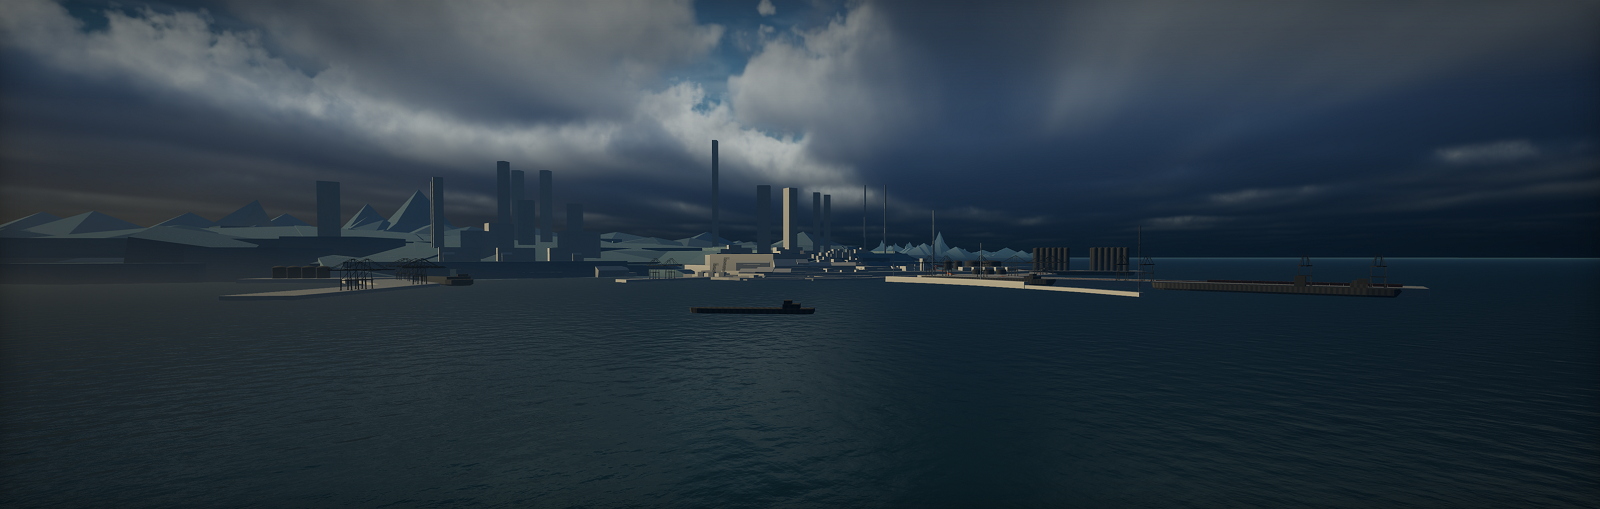
Panoramic view of EDZ-01 / Solaris City

Short Blurb

In this open-world roleplaying videogame, you play as a manufactured lifeform (a synth) waking up in a world in crisis. It is a first/third person tactical shooter, your goal is to collect valuable technical artifacts and documentation to help humans revive their golden age and save their civilization.

However, the old cities are now dangerous, full of industrial accidents and decaying infrastructure, making them Environmental Disaster Zones filled with lost treasures from the golden age. You were lost in transit for 200 years, but now it’s up to you whether to help humans or follow your own interests.


Long Blurb

With advancements in science, humanity has finally reached post-scarcity, but over time got complacent with the miracles of technology of the new era. You play as a manufactured lifeform (a synth), waking up in a world in crisis, a world that can no longer maintain its complex infrastructure and systems.

The game is a first/third person tactical shooter with roleplaying elements, focusing on urban exploration and urban combat. The primary goal is to collect technical artifacts and documentation, highly valued by humans with hopes that some of this old world information could help them revive the golden age of the old and stop the fall of their civilization.

As the crisis grew, the old cities became dangerous, full of industrial accidents, decaying infrastructure. Toxic hazards, radiation leaks, electromagnetic dangers all turned some of the largest cities into Environmental Disaster Zones - exclusion zones, full lost treasures and miracles from the golden age.

The players character was lost in transit and forgotten about as the world around descended into disarray, stranding them in a dream-like state for around 200 years. Now, it is up to you on whether you want to help humans in their pursuit of technology that may save their world, or follow your own interests.

Spoiler tags for Hugo

I use Hugo to generate the static HTML pages for this website. One of the projects I’m working on involves a storyline which some of my friends do not want spoiled to them. So for this, I had to add a simple spoiler shortcode.

This spoiler shortcode works like this: . It can be used to individual phrases or whole blocks of text, as seen below.

Here is the source code to the spoiler tag functionality on my website:

// /theme/assets/css/spoiler.css

.spoiler_dummy {
    display: none;
}

.spoiler_dummy:checked + label {
  color: $color;
  background: $background;
  transition: color 0.3s ease, background 0.3s ease;
}

.spoiler {
  position: relative;
  display: inline-block;
  cursor: help;
  
  border-radius: 2px;
  
  color: black;
  background: black;
  transition: color 0.3s ease, background 0.3s ease;
}
<!-- /theme/layouts/shortcodes/spoiler.html -->

<input class="spoiler_dummy" type="checkbox" id="spoilerTag{{ .Ordinal }}"/>
<label class="spoiler" for="spoilerTag{{ .Ordinal }}">
  {{- .Inner | safeHTML -}}
</label>