Video Machine: ViewCast Osprey Weirdness

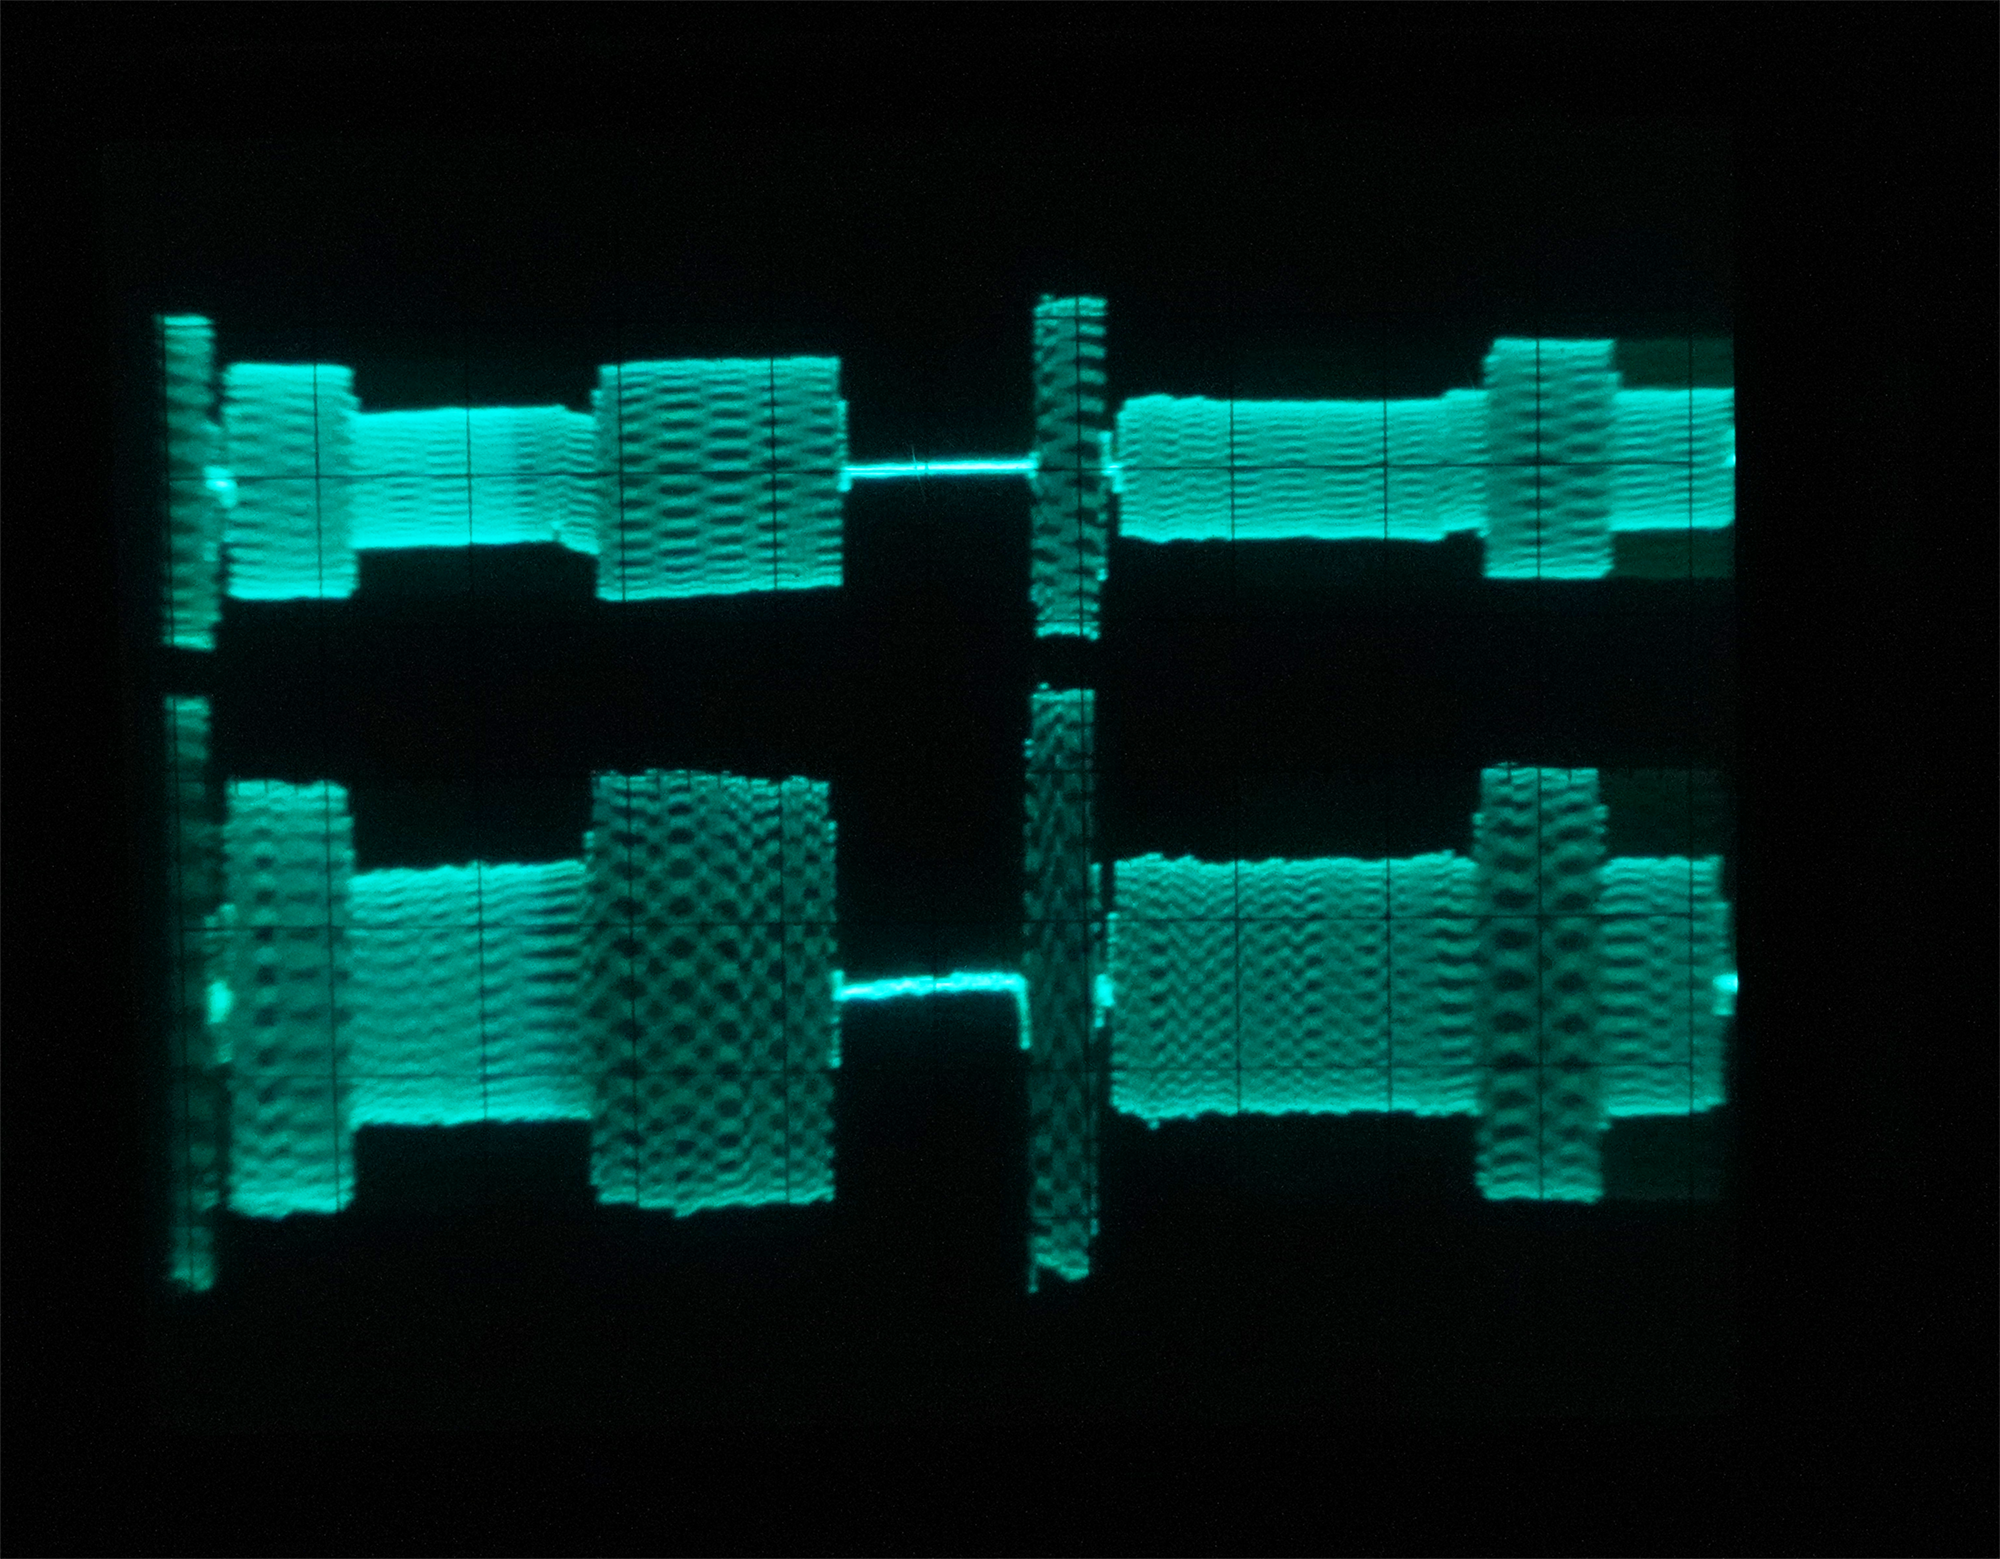
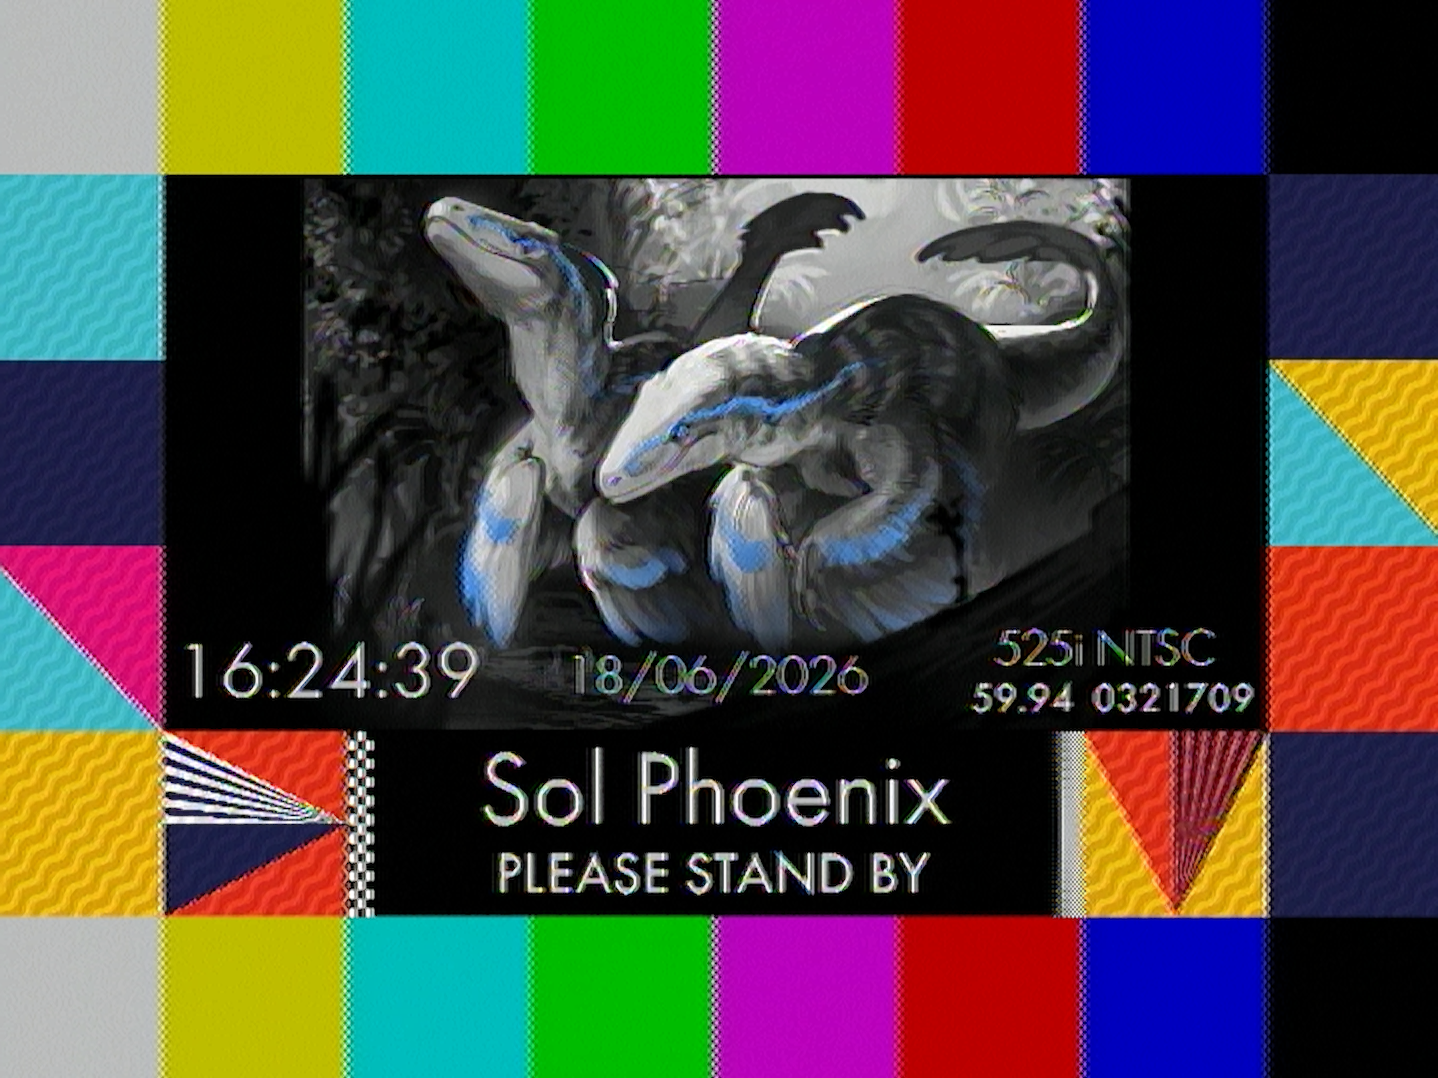
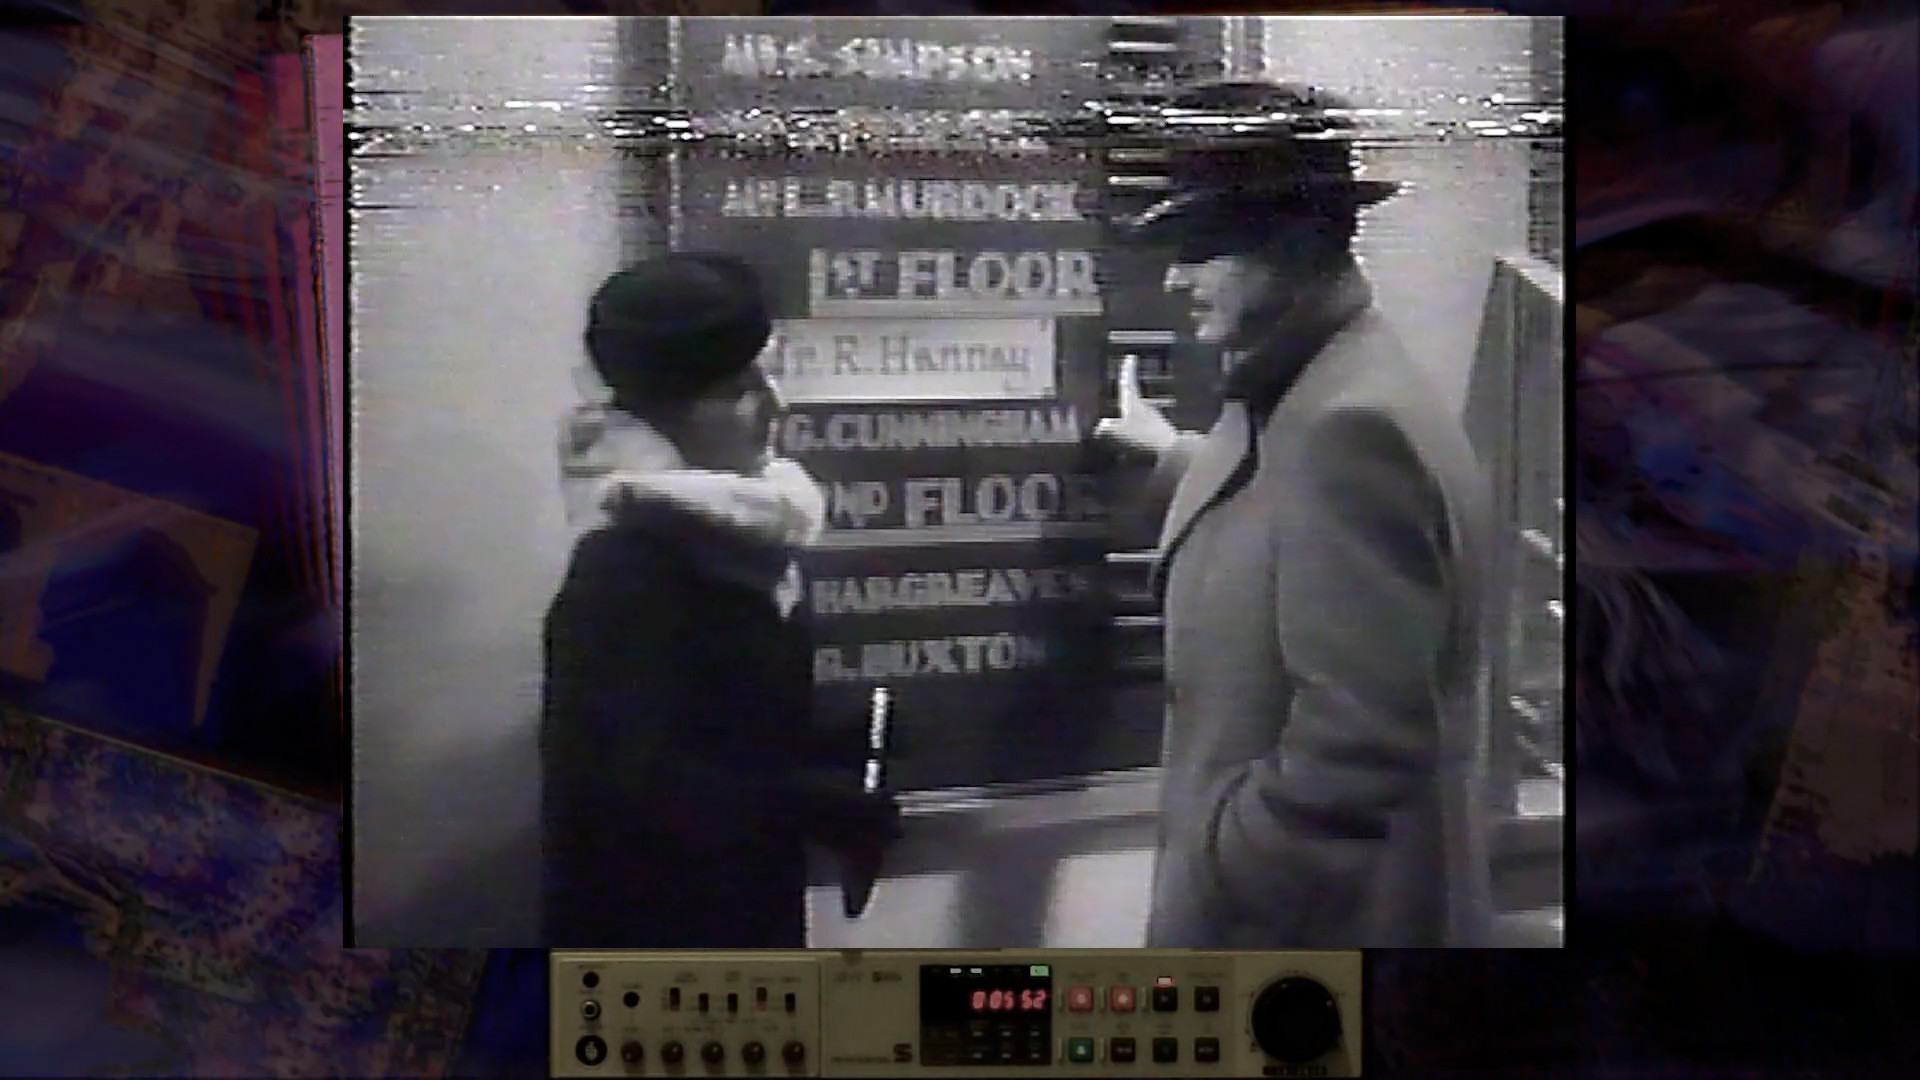
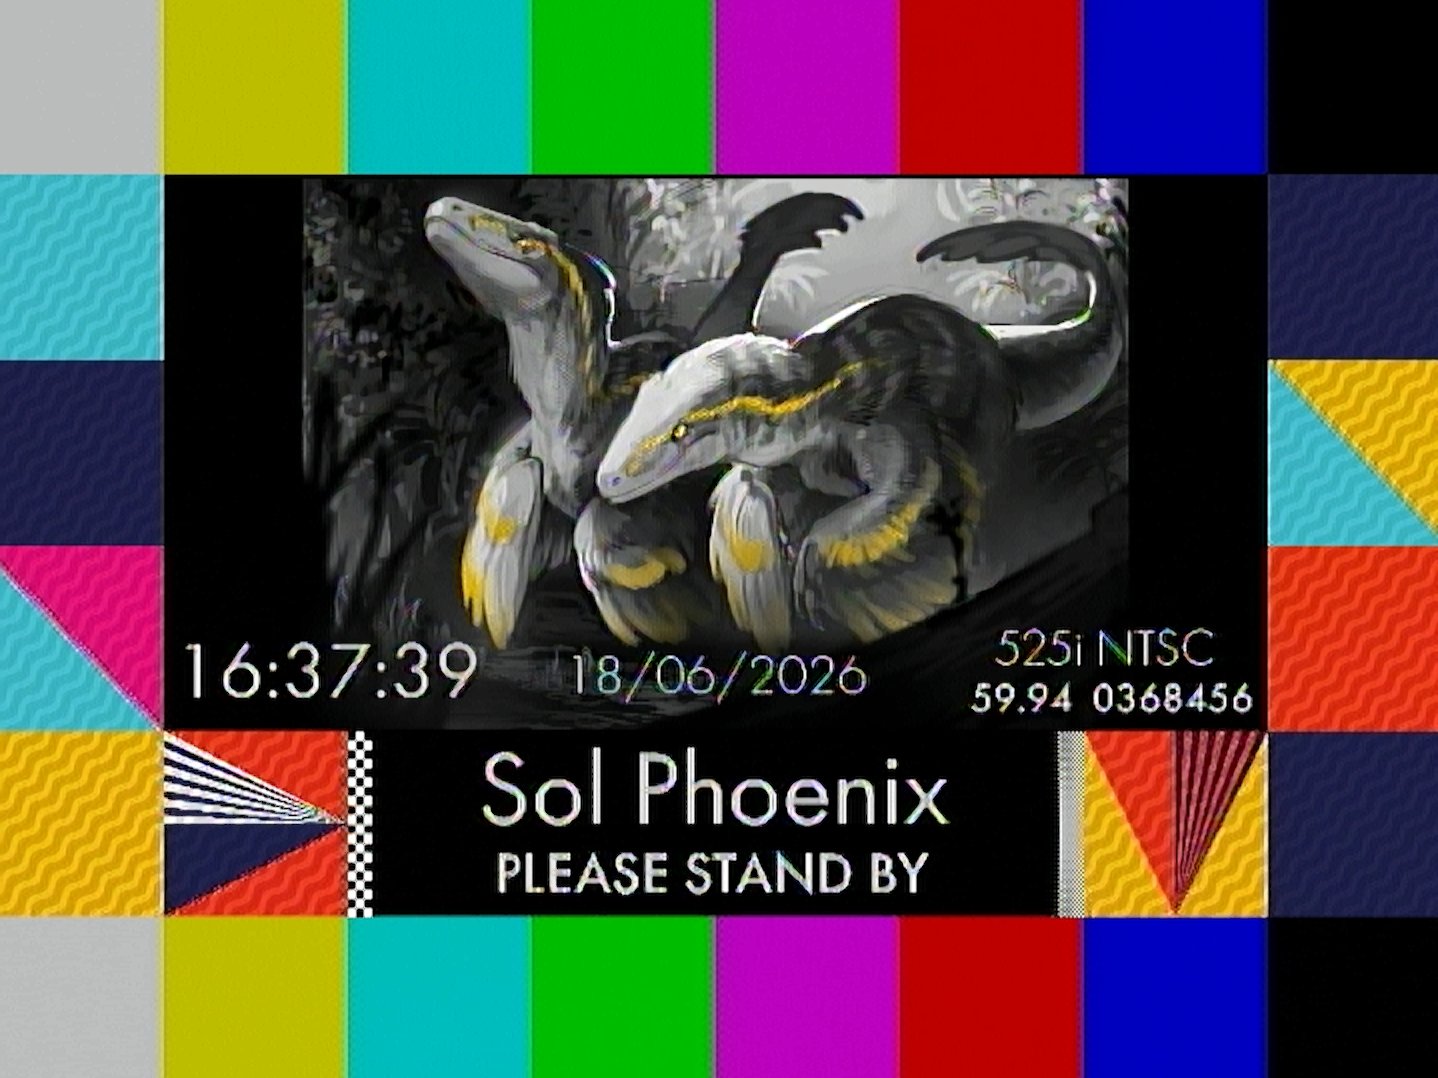
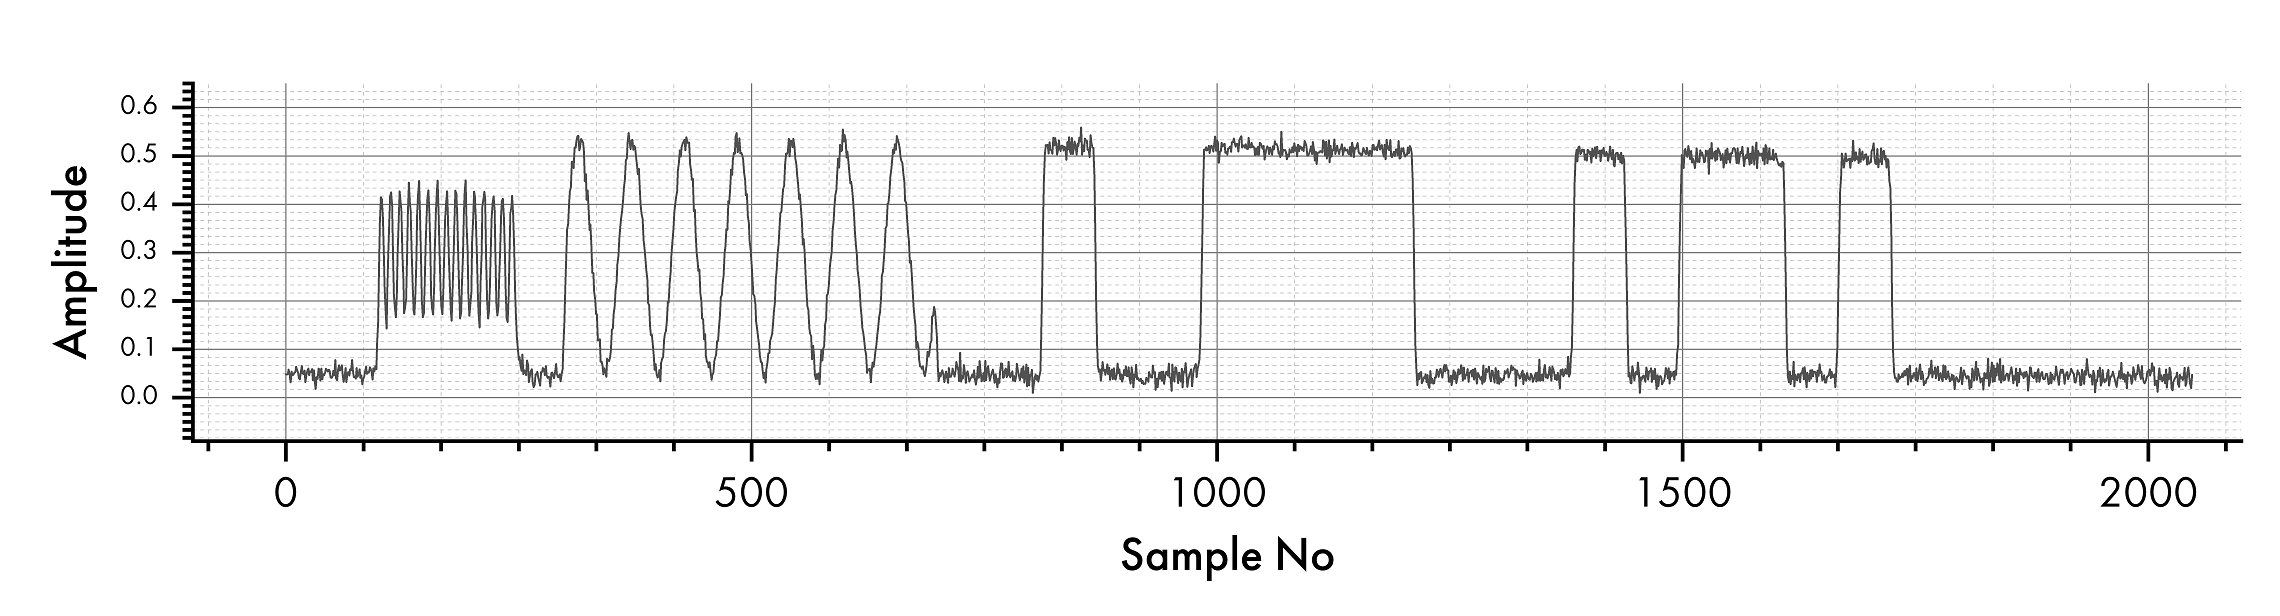
Here is an analog gremlin that appeared in the video system a couple weeks ago and has been annoying me a little. The specific issue here is very poor luma-chroma separation - crosshatching patterns and apparent ringing:

First I checked if it was any form of interference - however the patterns remained regardless of the current signal chain or which equipment was turned on. This required further in-depth debugging…

This was pretty much the sequence of it:

  1. Attempted to bypass the analog rack by looping analog output of one capture card (BlackMagic Intensity Pro) to input of the other (ViewCast Osprey 450e). However the issue remained - so the analog rack plus long umbilical cable to it was excluded completely.
  2. Disconnected auxiliary input to ViewCast Osprey and all audio connections - completely detached the umbilical cable. Still no effect.
  3. Got my SMPTE test pattern generator (I love it so much), plugged it directly into the computer. All analog processing is bypassed and input is connected to reference source. Still no effect - the issue is inside the capture card then.
  4. From there I continued to fiddle with various settings of the capture card… mainly switching between the television signals and the B/W composite mode. Noticed strange behavior - B/W composite mode will generally NOT engage.

B/W composite mode not engaging is an anomaly from a couple showings ago - we were watching Thirty Nine Steps in black and white (and on EP-mode VHS using the JVC BR-S800U VCR that I rebuilt). But the actual B/W mode refused to engage.

B/W mode is supposed to turn off chroma filtering and pass luma unchanged - it can increase quality on a true black and white television signal.

After turning off automatic television signal detection (it got turned on by accident at some point during testing) the B/W mode still refused to engage. But… after switching to PAL-M and then back it suddenly started working again. I suddenly realized what this reminded me of - there is a “sticky AGC” behavior with ViewCast Osprey that reveals internal controller part and the actual hardware are not always properly in sync to each other…

Together with the B/W mode the signal quality suddenly came back too. The image suddenly became clear and with none of the artifacts from before. There is still an artifact with the luma burst field on the right side of “STAND BY” text, but that is a known problem with output (OBS performs a rescale operation where it should crop instead - 1:1 pixel mapping is ruined).

So, the capture card seems to have two parts to it - the hardware that does the actual decoding and has its own states, and the controller which sets the states for this hardware. I think that this controller is not entirely comprehensive of the hardware state, so at some points there is a bit of a hysteresis or a corruption.

There are two kinds of hardware vs controller mismatch hysteresis on this card that I observed so far:

  • Video gain is automatically detected during the initialization of the TV signal and then never touched again. The video gain will be set to somewhat random level - if two devices don’t match quite in analog video voltages, one will be distinctly brighter than the other… If switch happens with no lock loss. If switch causes loss of signal lock, it will reinitialize gain randomly.
  • Configuration of the hardware luma/chroma separation circuit gets corrupted between different TV signal standards and in particular when B/W mode is enabled in automatic standard selection mode.

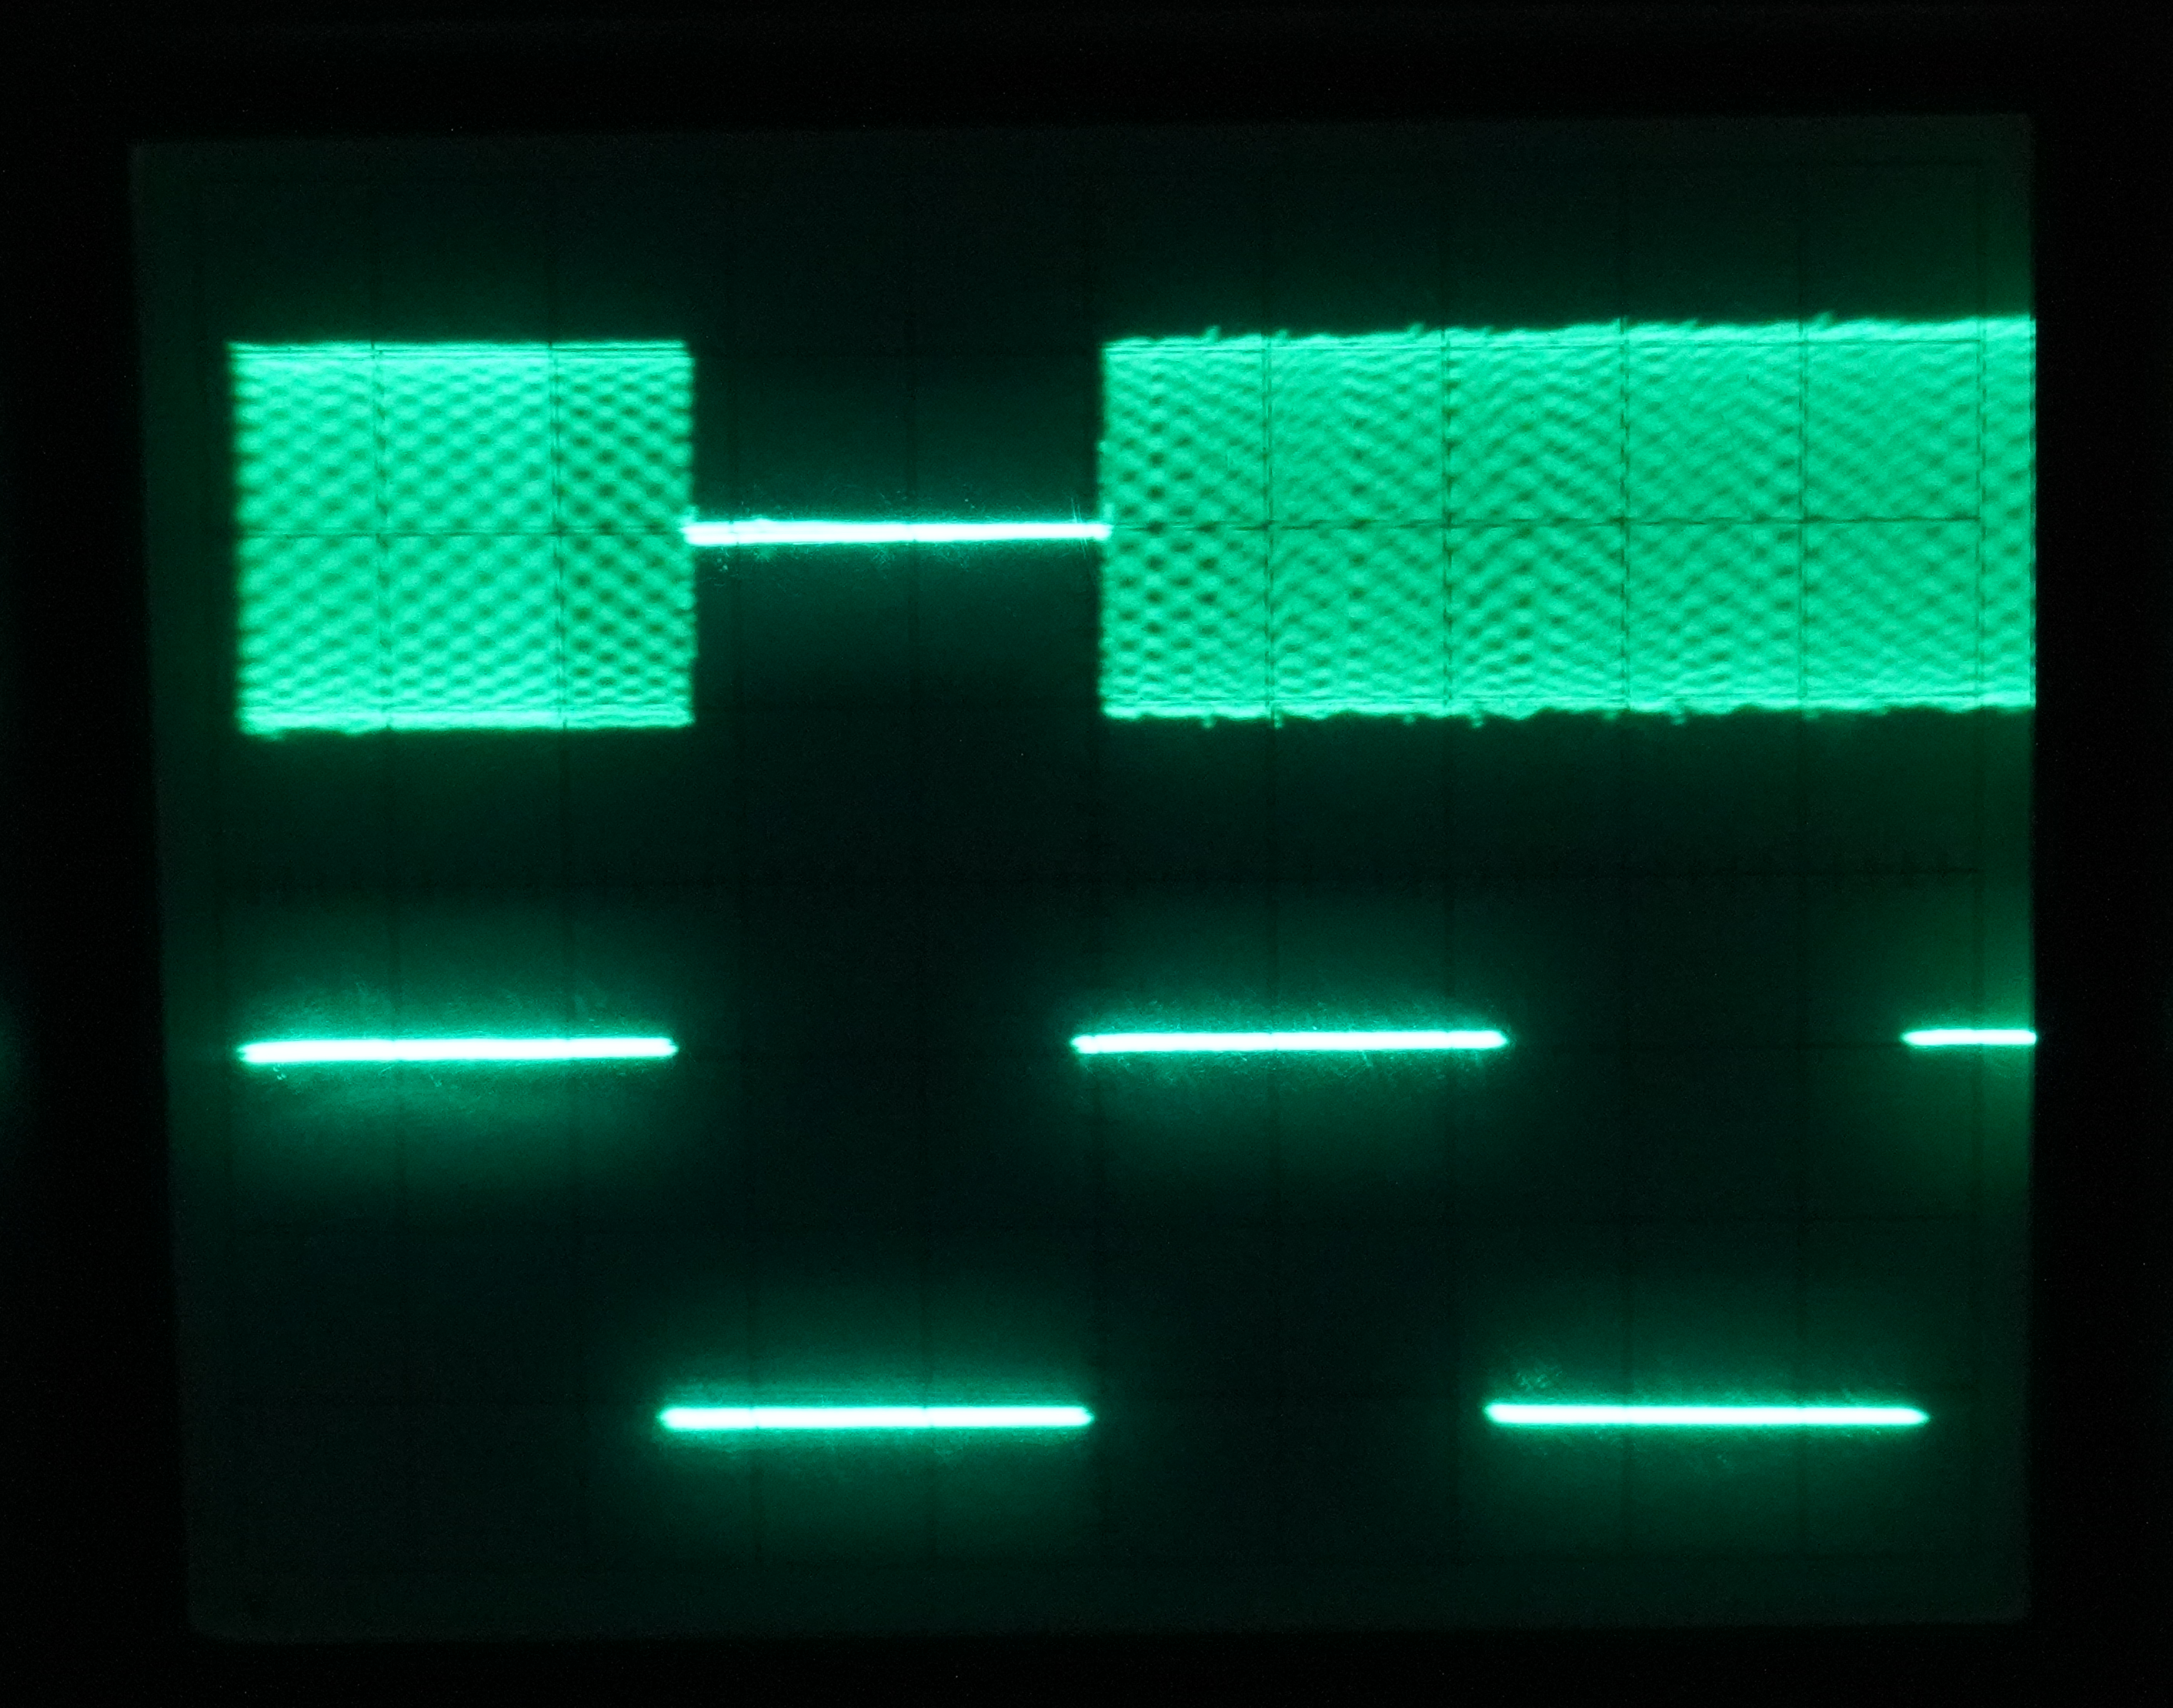
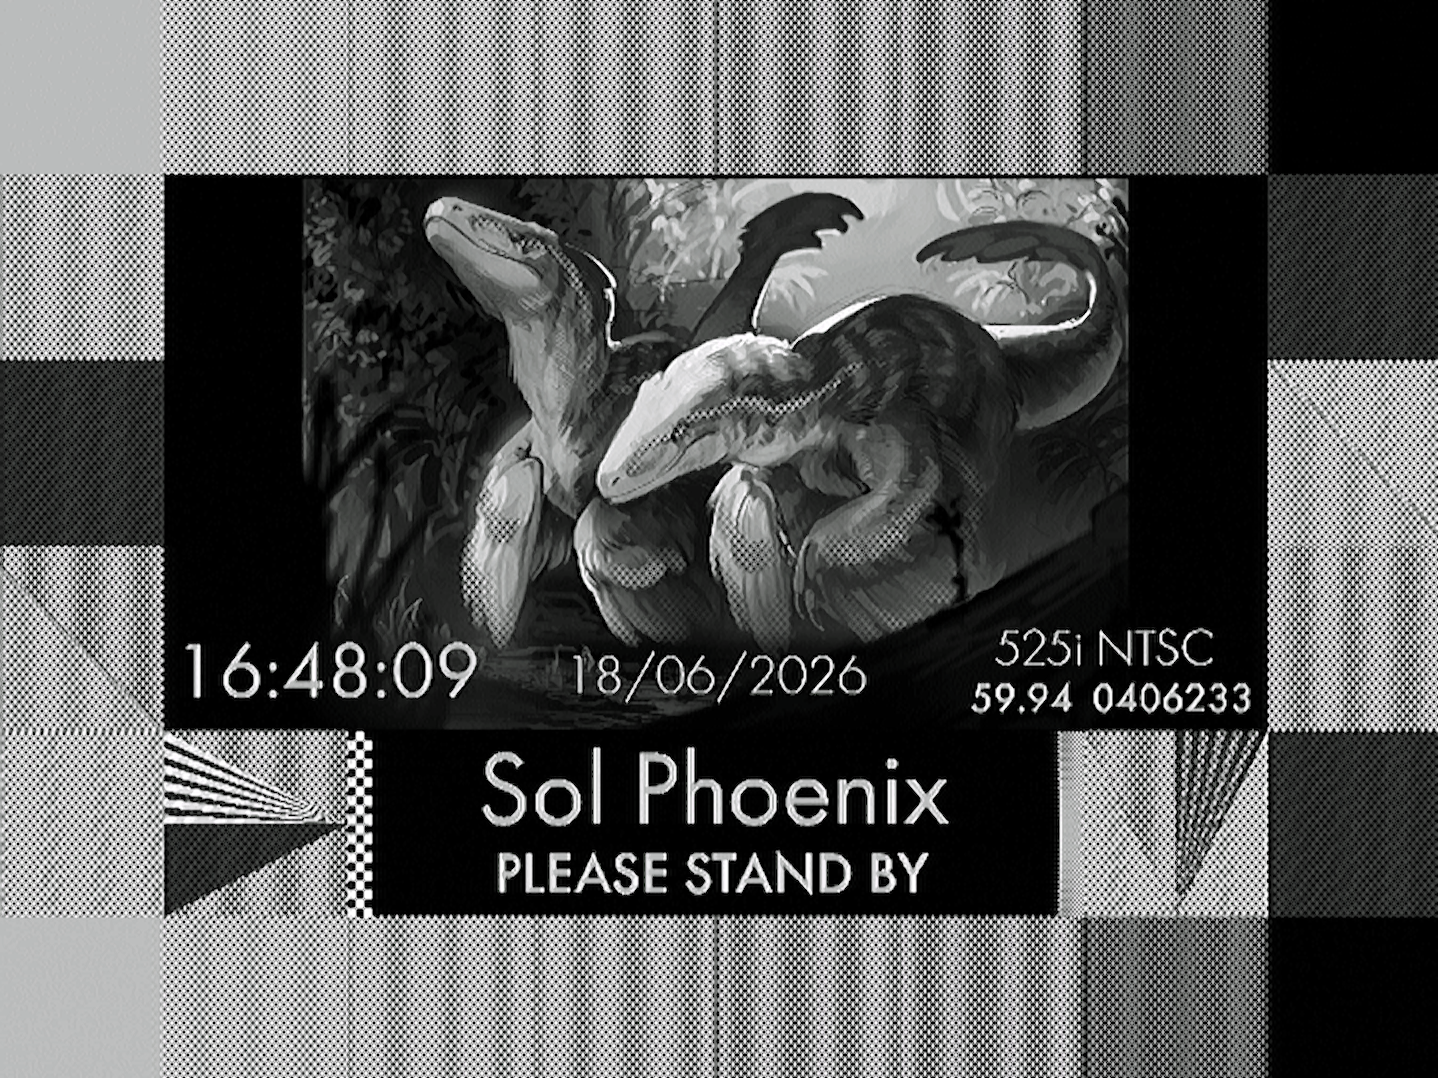
So as a result, just switching the automatic television standard detection helps with these issues completely. B/W luminance only mode also works. As a bonus, here is the test pattern when passed through the B/W mode:

Video Machine: Subtitle Rendering

Some time ago I updated the video machine subtitle-related features, specifically:

  • New custom CEA-608 subtitle decoder, which captures subtitles directly from the VBI waveform
  • New custom CEA-608 subtitle encoder, which generates caption bytes that then get used by subtitle encoder hardware or can be transmitted elsewhere
  • Added a CEA-608 to Pango markup converter and switched subtitle rendering from driver-based hardware subtitles to pretty high-resolution text provided by text-pthread plugin for OBS

Previously it would use the decoder from the capture card. This meant that subtitles would be locked to the current analog input (more on this below), end up baked into the video stream and they caused a short hang-up whenever they were turned on/off. The subtitles would get caught along with filters like sharpening and so on… generally resulting in blurry text.

There is a subtlety about displaying analog subtitles (ha ha) - the main video signal sometimes passes through the time base corrector, which is a lossy process prone to corruption of the subtitle waveform. In case of time base errors in the source signal (which is very common for old VHS media) the TBC tries to fill in corrupted data by repeating the previous video frame. This results in repeating of two last bytes of transmission over and over.

To get around this the auxiliary input is used to source the CEA-608 CC waveforms. The primary video input signal is what connects to the screen and the auxiliary input is what I see on the panel - and what subtitles are decoded from.

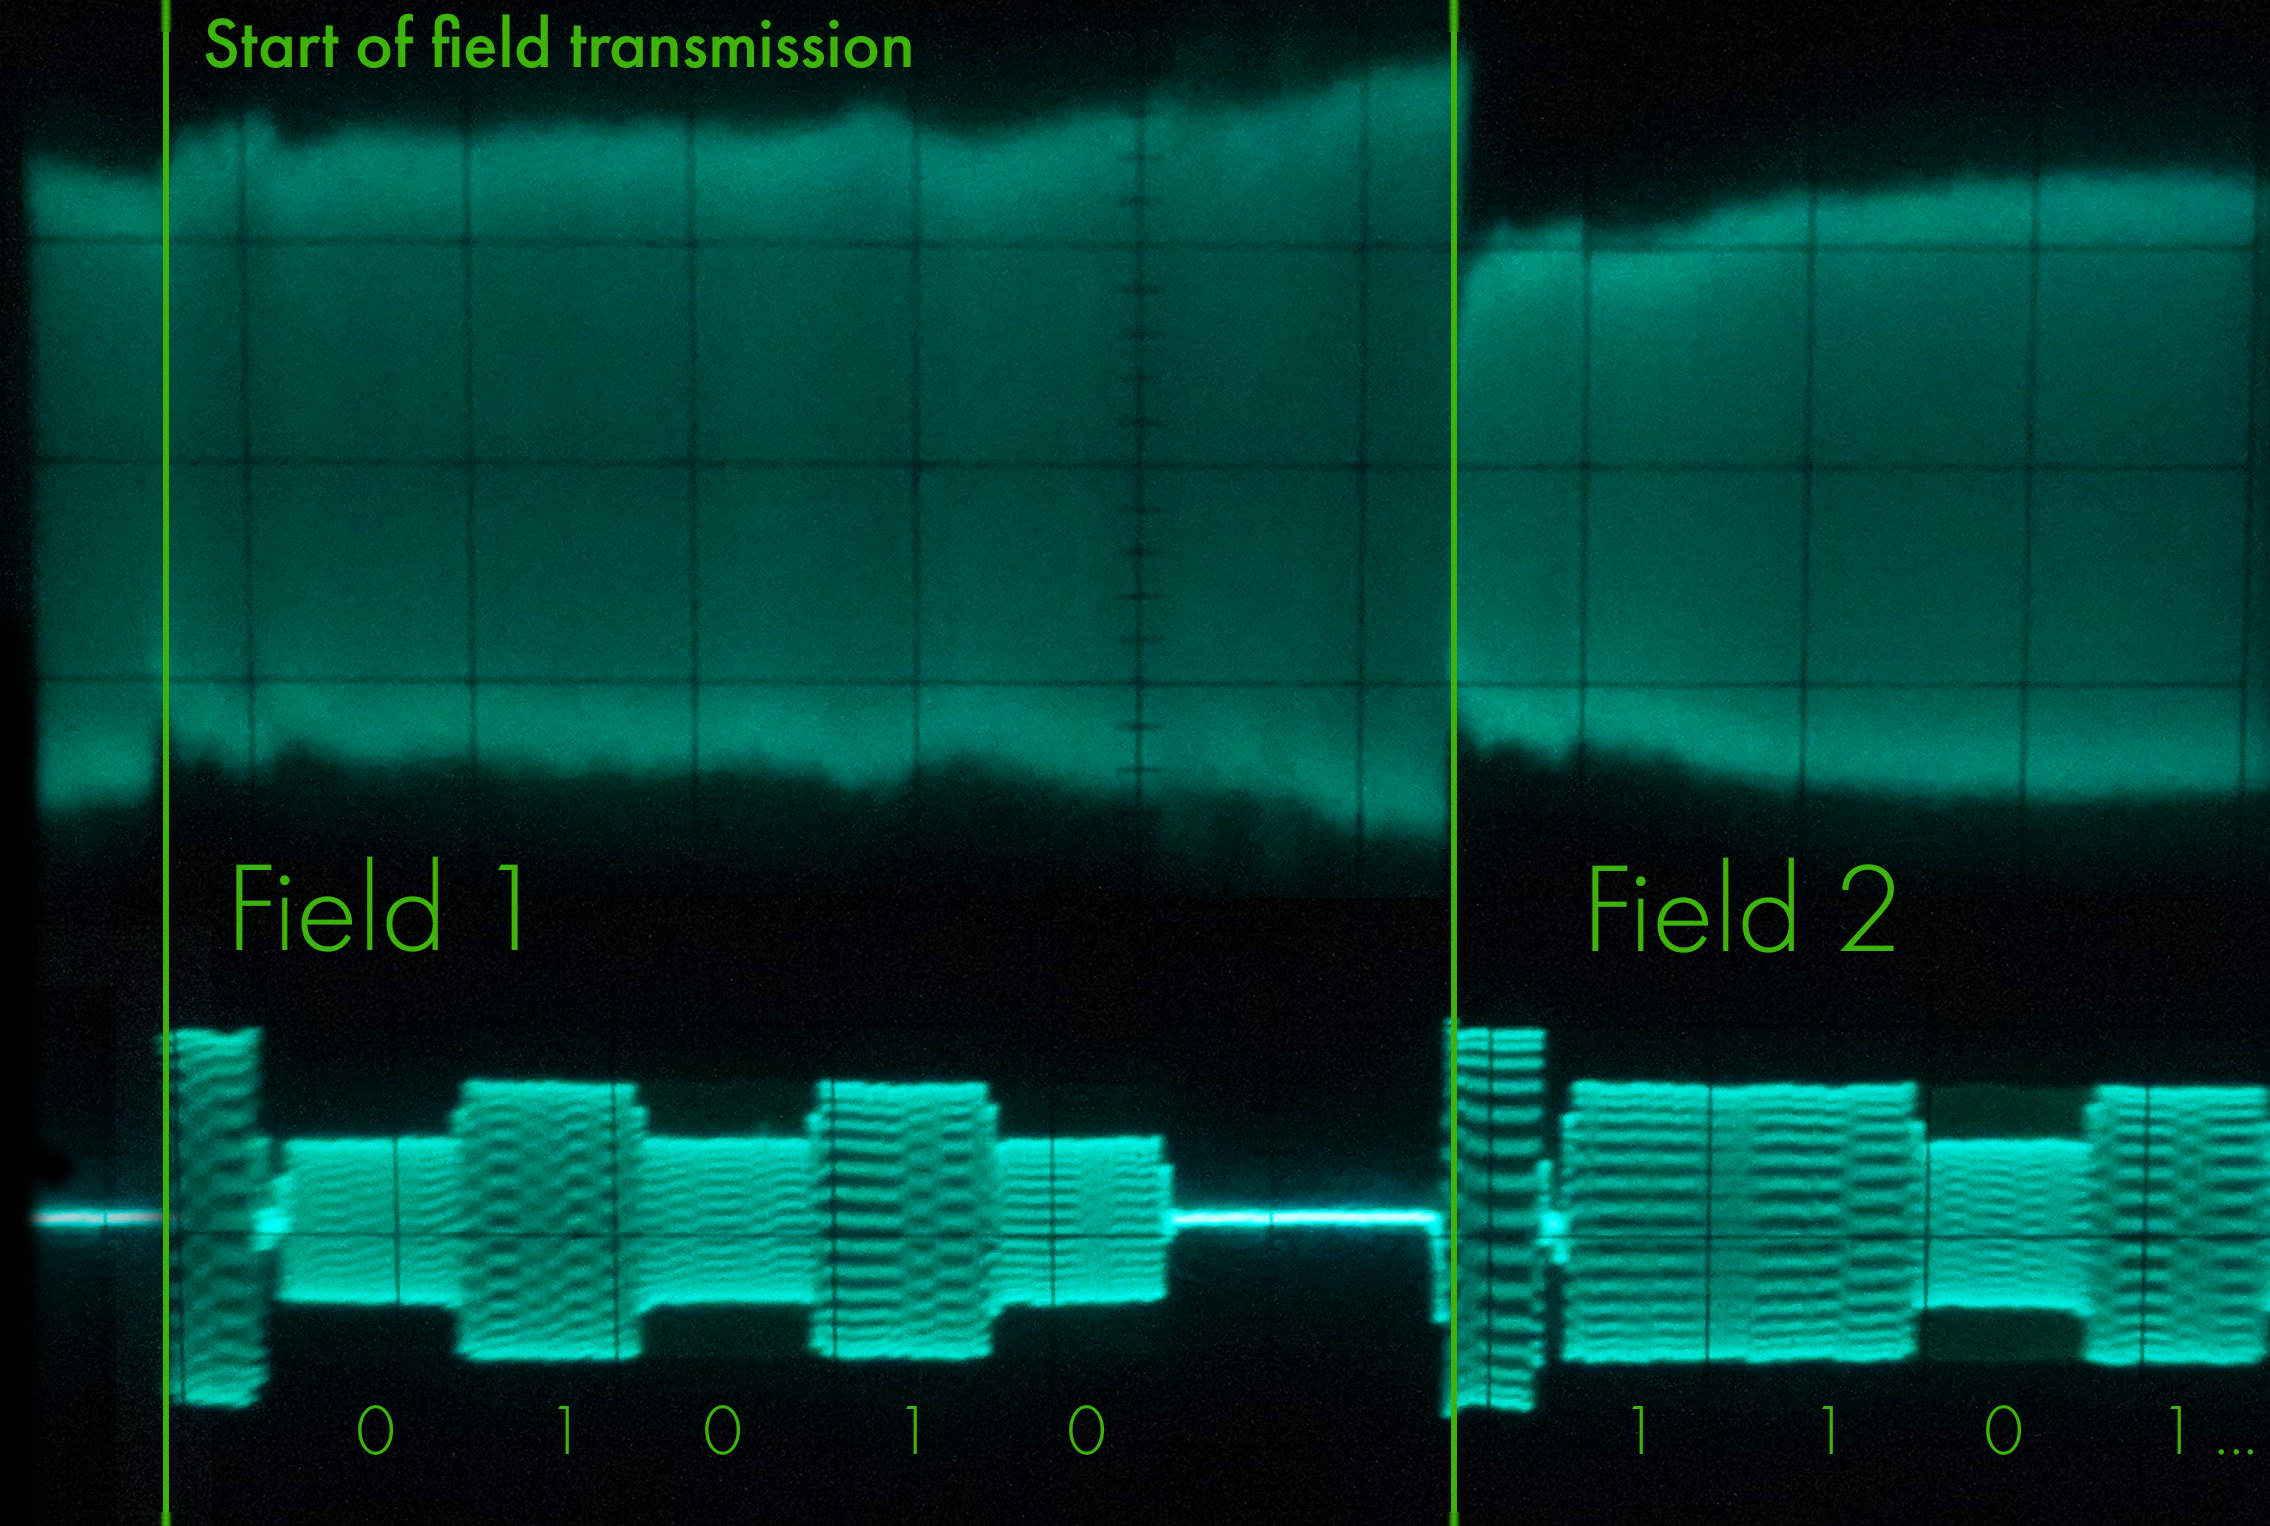
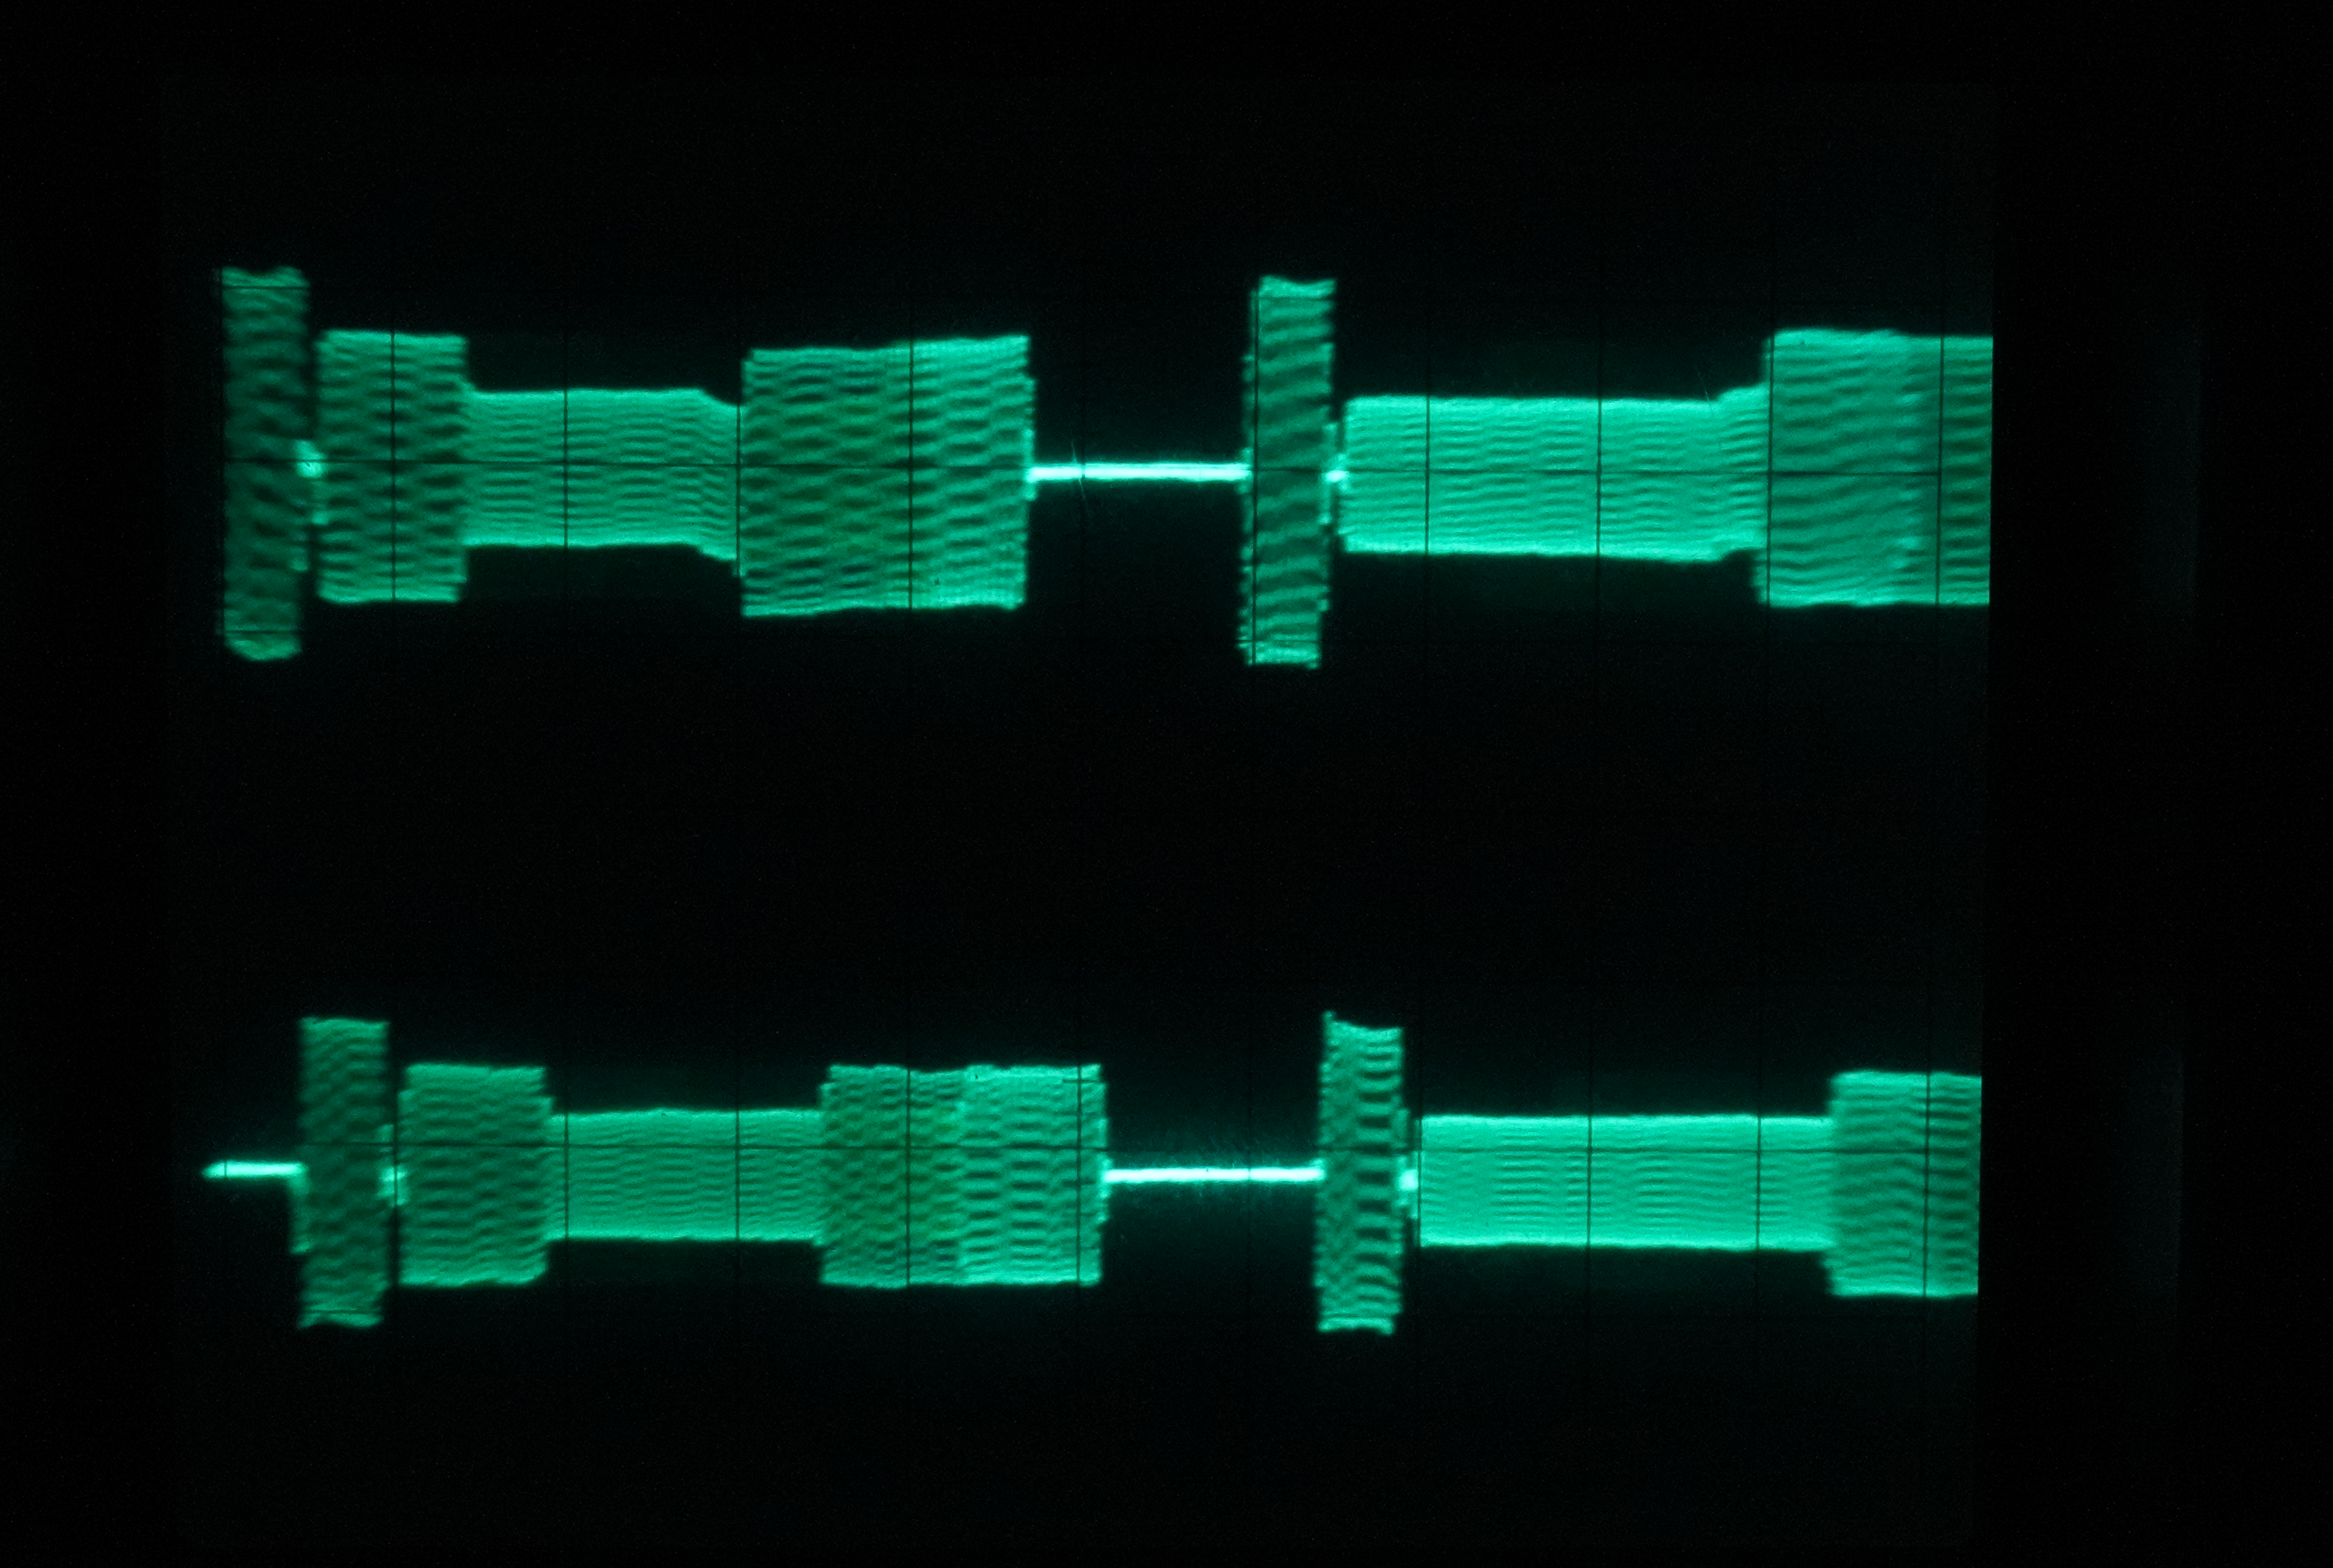
Video Machine has a custom decoder for these waveforms - it obtains raw data samples from the capture card, then performs clock detection & NRZ bit scanning with clock re-synchronization. The CEA-608 waveforms encode two bytes of data per a single frame.

I also added a CEA-608 encoder which is able to turn this Markdown-like formatting into a valid CEA-608 byte sequence. This is also the same message that was used for test images throughout this post:

A quick brown fox jumps over the lazy dog
{@2}{r}Red {g}Green {b}Blue {y}Yellow {c}Cyan<br>
{@3}{m}Magenta {w}White *Italic* _Underline_<br>
{@4}{gR}BG {bG}BG {yB}BG {bY}BG {mC}BG {cM}BG {rW}BG

Here are the specific commands that implement custom CEA-608 codes:

  • {@row,column} encodes a “place at specific part of the screen” command sequence
  • {w} or {white} encodes a foreground color adjustment
  • {W} or {WHITE} encodes a background color adjustment
  • Supported unicode characters are converted to corresponding CEA-608 codes
  • Bold text, strike-out, etc are not supported by CEA-608

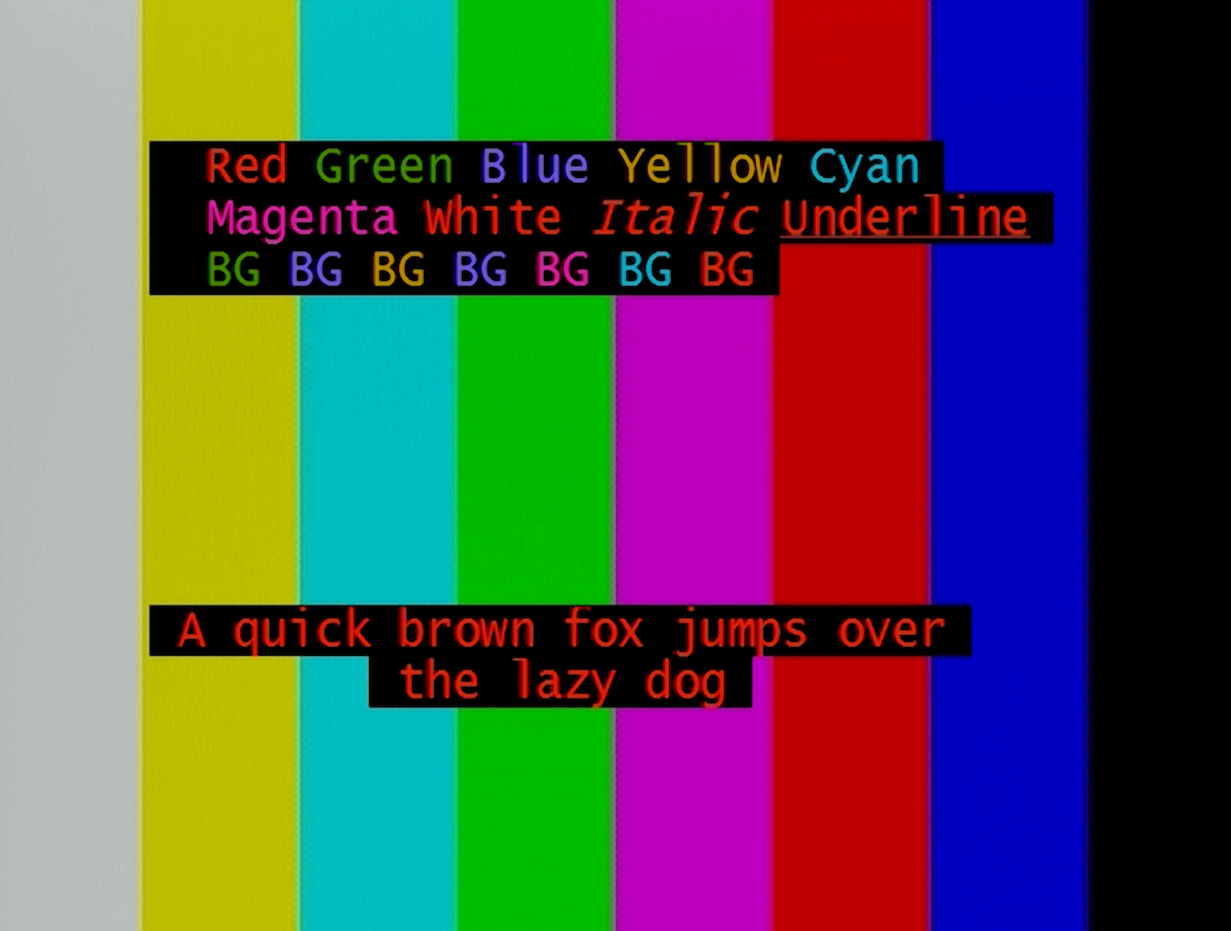
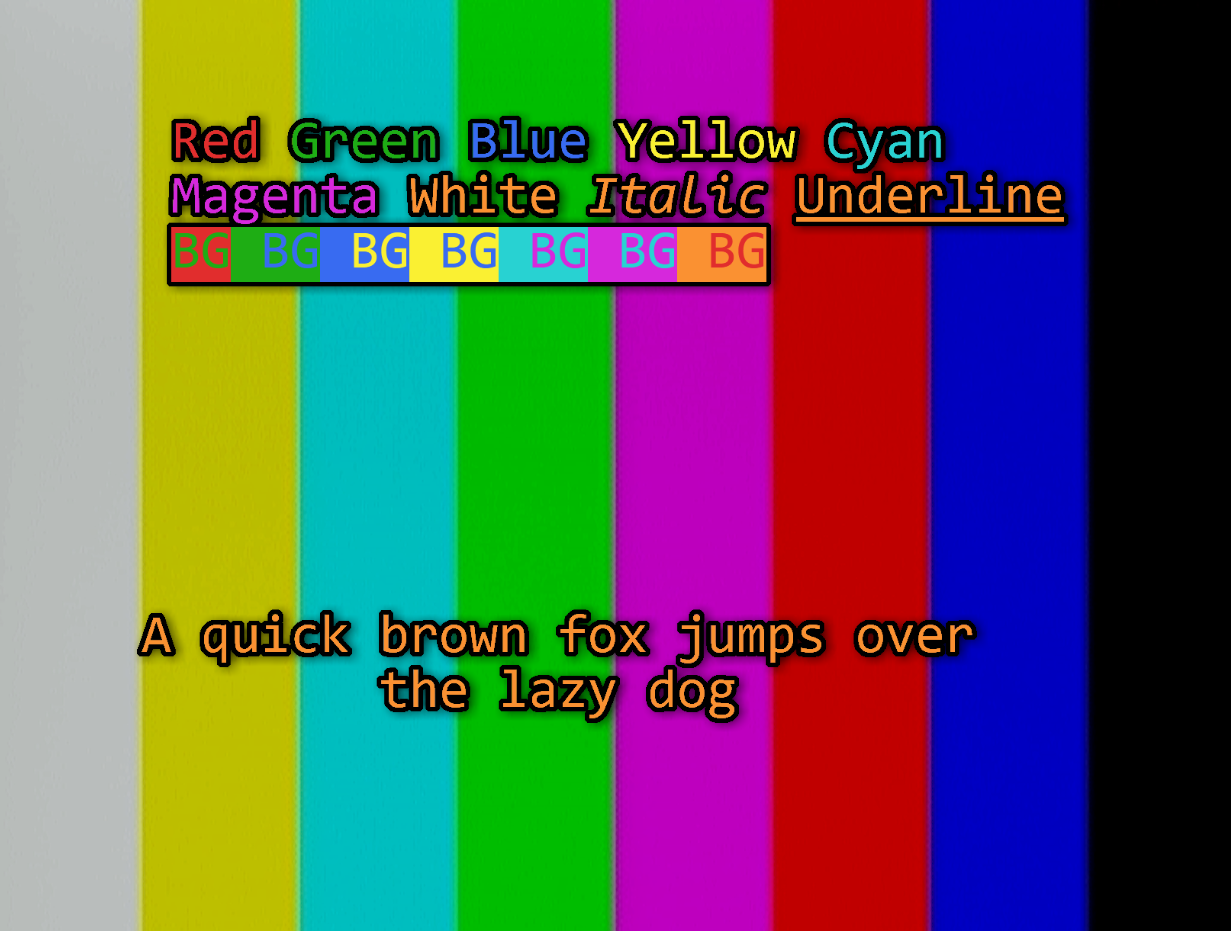
This is the final result as decoded and rendered by the Video Machine subtitle system:

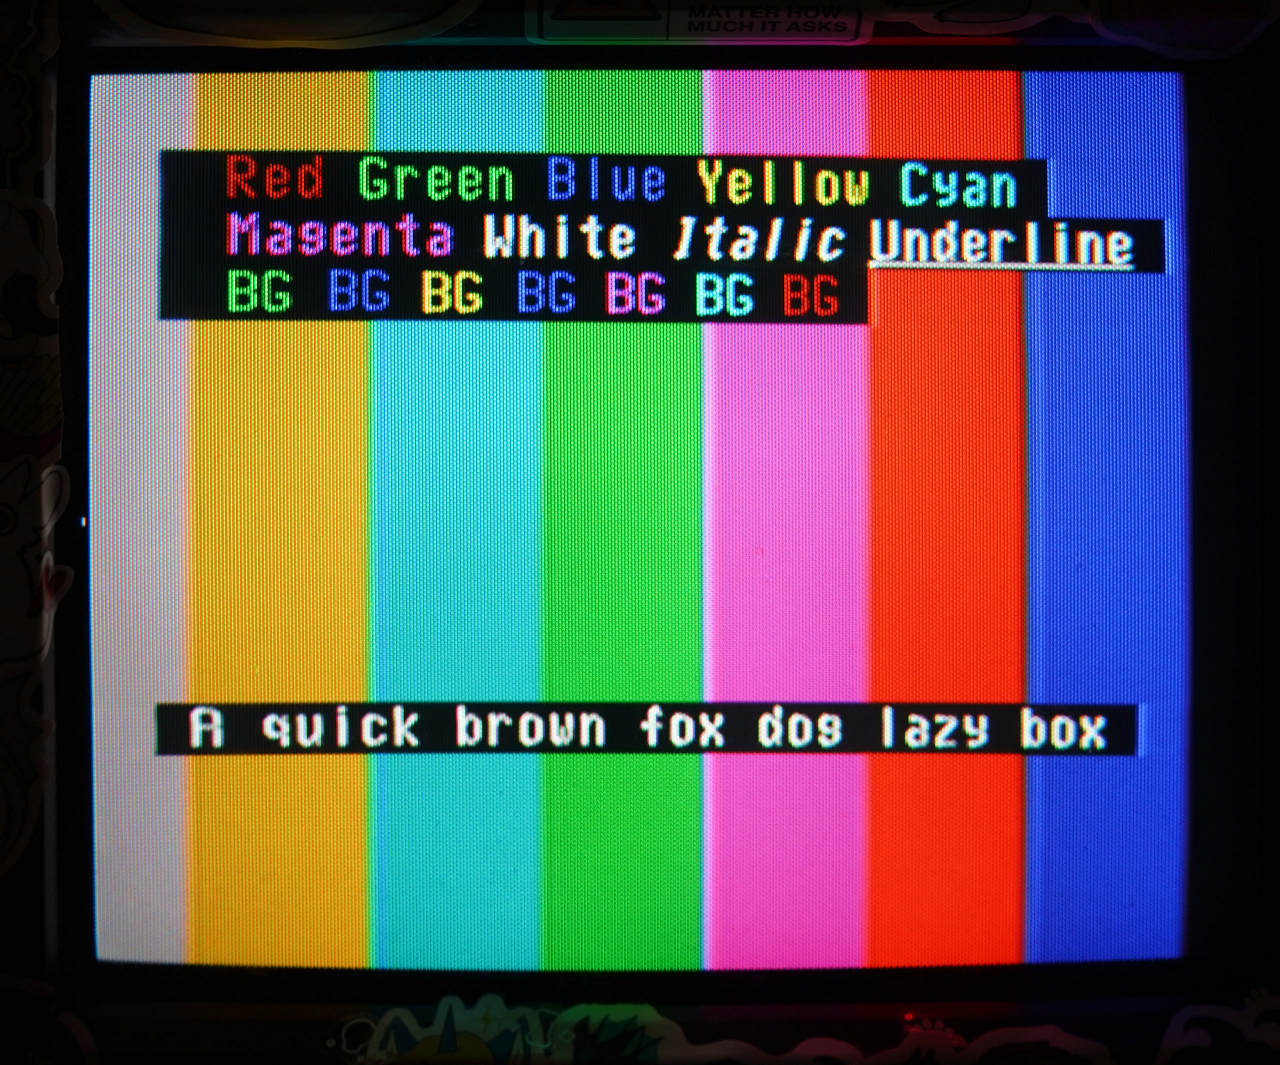
During this testing, I noticed that my CRT TV does not seem to present subtitles encoded to row 1 - it consistently ignores anything that is attributed to row 1 (because row 1 is numerically encoded as 0, it could be a one-off error in the decoder of that TV?). Plus something I already knew before - it only has 4 lines of decoding buffer, so I had to shorten the test phrase, otherwise parts of the color test would get cutoff.

I also noticed that by mistake I swapped the buttons that pick subtitle source between “driver” and custom video machine decoder. The subtitles have been running on my custom decoder for at least two of the past streams and I didn’t even notice.

Here are the same subtitles decoded on my VCR/CRT combo unit I use as an electronic badge. The decoder on this TV does not seem to support background codes, but all other formatting codes seem to be supported pretty well:

Reading a cubemap pixel by direction in Unreal Engine 5

In order to implement an early version of pre-rendered 2D skybox I needed to compare the skyboxes with sun enabled and disabled in order to obtain the required tinting of the sun for 2D skybox (so the sun doesn’t render on top of it, shining right through dense clouds).

This system is no longer used, now a texture mask is used instead to remove stars, sun and moon and other background objects from being rendered where the clouds are.

Here is the function for sampling the cube map:

FLinearColor USynesthesiaBlueprintFunctions::SampleTextureCubeByDirection(UTextureRenderTargetCube* RenderTarget, const FVector& Direction)
{
	if (!RenderTarget) return FLinearColor::Black;

	// Get the correct resource
	FTextureRenderTargetResource* RenderTargetResource = RenderTarget->GameThread_GetRenderTargetResource();
	if (!RenderTargetResource) return FLinearColor::Black;
	FTextureRenderTargetCubeResource* CubeResource = RenderTargetResource->GetTextureRenderTargetCubeResource();
	if (!CubeResource) return FLinearColor::Black;

	// Normalize the direction vector
	const FVector NormalizedDirection = Direction.GetSafeNormal();

	// Get the correct cube face for the normalized direction
	ECubeFace CubeFace = ECubeFace::CubeFace_NegX;
	const double MaxAbsValue = FMath::Max3(FMath::Abs(NormalizedDirection.X), FMath::Abs(NormalizedDirection.Y), FMath::Abs(NormalizedDirection.Z));
	if (FMath::Abs(NormalizedDirection.X) == MaxAbsValue) {
		CubeFace = NormalizedDirection.X > 0 ? ECubeFace::CubeFace_PosX : ECubeFace::CubeFace_NegX;

	} else if (FMath::Abs(NormalizedDirection.Y) == MaxAbsValue) {
		CubeFace = NormalizedDirection.Y > 0 ? ECubeFace::CubeFace_PosY : ECubeFace::CubeFace_NegY;

	} else if (FMath::Abs(NormalizedDirection.Z) == MaxAbsValue) {
		CubeFace = NormalizedDirection.Z > 0 ? ECubeFace::CubeFace_PosZ : ECubeFace::CubeFace_NegZ;
	}

	// Calculate coordinates of the point on the selected cube maps cube face
	float CubeFaceU = 0.0f;
	float CubeFaceV = 0.0f;
	const FVector FaceDirection = NormalizedDirection.GetAbs();
	if (CubeFace == ECubeFace::CubeFace_PosX) {
		CubeFaceU = -NormalizedDirection.Z / FaceDirection.X;
		CubeFaceV = -NormalizedDirection.Y / FaceDirection.X;

	} else if (CubeFace == ECubeFace::CubeFace_NegX) {
		CubeFaceU = NormalizedDirection.Z / FaceDirection.X;
		CubeFaceV = -NormalizedDirection.Y / FaceDirection.X;

	} else if (CubeFace == ECubeFace::CubeFace_PosY) {
		CubeFaceU = NormalizedDirection.X / FaceDirection.Y;
		CubeFaceV = NormalizedDirection.Z / FaceDirection.Y;

	} else if (CubeFace == ECubeFace::CubeFace_NegY) {
		CubeFaceU = NormalizedDirection.X / FaceDirection.Y;
		CubeFaceV = -NormalizedDirection.Z / FaceDirection.Y;

	} else if (CubeFace == ECubeFace::CubeFace_PosZ) {
		CubeFaceU = NormalizedDirection.X / FaceDirection.Z;
		CubeFaceV = -NormalizedDirection.Y / FaceDirection.Z;

	} else if (CubeFace == ECubeFace::CubeFace_NegZ) {
		CubeFaceU = -NormalizedDirection.X / FaceDirection.Z;
		CubeFaceV = -NormalizedDirection.Y / FaceDirection.Z;
	}

	// Read correct pixel from the resource
	TArray<FFloat16Color> ImageData;
	if (!CubeResource->ReadPixels(ImageData, FReadSurfaceDataFlags(ERangeCompressionMode::RCM_UNorm, CubeFace))) return FLinearColor::Black;

	// Calculate pixel coordinates of the point on selected cubemap face
	const int32 SizeX = CubeResource->GetSizeX();
	const int32 SizeY = CubeResource->GetSizeY();
	const int32 U = FMath::RoundToInt((CubeFaceU + 1.0f) * 0.5f * (SizeX - 1));
	const int32 V = FMath::RoundToInt((CubeFaceV + 1.0f) * 0.5f * (SizeY - 1));
	const int32 Offset = V * SizeX + U;

	// Sample the cubemap data
	if (ImageData.IsValidIndex(Offset)) {
		return ImageData[Offset].GetFloats();
	} else {
		return FLinearColor::Black;
	}
}

And here is the function for saving a cube map to disk, just in case it might be useful in a similar context:

UTextureCube* USynesthesiaBlueprintFunctions::RenderTargetCreateStaticTextureCubeEditorOnly(UTextureRenderTargetCube* RenderTarget, FString InName, TextureCompressionSettings CompressionSettings, TextureMipGenSettings MipSettings)
{
#if WITH_EDITOR
	// Save the render target image as an asset
	if (!RenderTarget) { // Invalid RT
		FMessageLog("Blueprint").Warning(LOCTEXT("RenderTargetCreateStaticTextureCube_InvalidRenderTarget", "RenderTargetCreateStaticTextureCubeEditorOnly: RenderTarget must be non-null."));
		return nullptr;

	} else if (!RenderTarget->GetResource()) { // Invalid RT resource
		FMessageLog("Blueprint").Warning(LOCTEXT("RenderTargetCreateStaticTextureCube_ReleasedRenderTarget", "RenderTargetCreateStaticTextureCubeEditorOnly: RenderTarget has been released."));
		return nullptr;

	} else { // Valid inputs, generate static texture
		FString Name;
		FString PackageName;
		IAssetTools& AssetTools = FModuleManager::Get().LoadModuleChecked<FAssetToolsModule>("AssetTools").Get();

		// Use asset name only if directories are specified, otherwise full path
		if (!InName.Contains(TEXT("/"))) {
			const FString AssetName = RenderTarget->GetOutermost()->GetName();
			const FString SanitizedBasePackageName = UPackageTools::SanitizePackageName(AssetName);
			const FString PackagePath = FPackageName::GetLongPackagePath(SanitizedBasePackageName) + TEXT("/");
			//AssetTools.CreateUniqueAssetName(PackagePath, InName, PackageName, Name);
			PackageName = PackagePath + InName;
		} else {
			InName.RemoveFromStart(TEXT("/"));
			InName.RemoveFromStart(TEXT("Content/"));
			InName.StartsWith(TEXT("Game/")) == true ? InName.InsertAt(0, TEXT("/")) : InName.InsertAt(0, TEXT("/Game/"));
			//AssetTools.CreateUniqueAssetName(InName, TEXT(""), PackageName, Name);
			PackageName = InName;
		}
		const int32 LastSlashIndex = InName.Find(TEXT("/"), ESearchCase::CaseSensitive, ESearchDir::FromEnd);
	    if (LastSlashIndex != INDEX_NONE && LastSlashIndex < InName.Len() - 1) {
	        Name = InName.RightChop(LastSlashIndex + 1);
	    } else {
	        Name = InName;
	    }

		// Create the package
		UPackage* Package = CreatePackage(*PackageName);
		if (!Package) {
			UE_LOG(LogSynth, Error, TEXT("Failed to create package %s"), *PackageName);
			return nullptr;
		}
		Package->FullyLoad();

		// Create or overwrite the texture
		UTextureCube* NewTexture = Cast<UTextureCube>(RenderTarget->ConstructTextureCube(Package, Name, RenderTarget->GetMaskedFlags() | RF_Public | RF_Standalone));

		// If the texture is valid, set its parameters and return it
		if (NewTexture != nullptr) {
			// Package needs saving
			//NewTexture->MarkPackageDirty();
			Package->SetDirtyFlag(true);
			Package->PackageMarkedDirtyEvent.Broadcast(Package, true);

			// Notify the asset registry
			FAssetRegistryModule::AssetCreated(NewTexture);

			// Update Compression and Mip settings
			NewTexture->CompressionSettings = CompressionSettings;
			NewTexture->MipGenSettings = MipSettings;
			NewTexture->PostEditChange();
			return NewTexture;
		}
		FMessageLog("Blueprint").Warning(LOCTEXT("RenderTargetCreateStaticTextureCube_FailedToCreateTexture", "RenderTargetCreateStaticTextureCubeEditorOnly: Failed to create a new texture."));
	}
#else
	FMessageLog("Blueprint").Error(LOCTEXT("RenderTargetCreateStaticTextureCube_RuntimeFailedToCreateTexture", "RenderTargetCreateStaticTextureCubeEditorOnly: Can't create TextureCube at run time. "));
#endif
	return nullptr;
}

Synesthesia: Re-entry effects improvements

I have improved the sprite for the re-entry effect. It still needs some polishing, but now the re-entry effect looks like this up-close.

It is a very simple particle-based effect implementing some basic hypersonic entry physics (just the most generic unitless heat flux + radiation model with basic burning-down). It uses very simplistic “blob” shapes as base particles (bright tip, elongated tail). Despite the model being simple the results are very lively and fun to look at.

An extra bonus picture of many objects reentering from generally same heading (inclination) over a given area. Looks kind of fun:

Plus a video of the sky, sun, moon and clouds all blending together with the mask:

Synesthesia: Starfield improvements

Tachy, a friend of mine, helped me considerably by calculating a star catalog for the year 2994 (when the events of the game take place). Some of the stars experience a considerable drift over the 1000 years - it might not be a very important detail to most players, however it is a nice little detail to have.

Here is a simple comparison between the two starfields (move mouse over the image to see the difference - it is exceedingly small visually!):

The newer year 2994 catalog also contains way more stars - 119,614 total. The older catalog has been truncated to only magnitudes brighter than 9.99, so it only listed 28,593 stars.

The synths sensors are sufficiently sensitive to pick out faint stars, so in the end I plan to include all ~120,000 stars (though in reality less based on performance settings, however it does not seem to be considerable for the particle system).

Here is the video of the star field movement over time and how it blends together with the clouds using the mask shown in an earlier post.


Below are the two starfields in higher resolution. These images can be opened at a higher resolution, if you want to take a closer look.

Epoch 2000

Epoch 2994: